Learn how to use a wood planer with this complete guide, perfect for beginners. Discover step-by-step techniques, safety tips, and expert insights to achieve smooth, even surfaces.
What is a Planer?
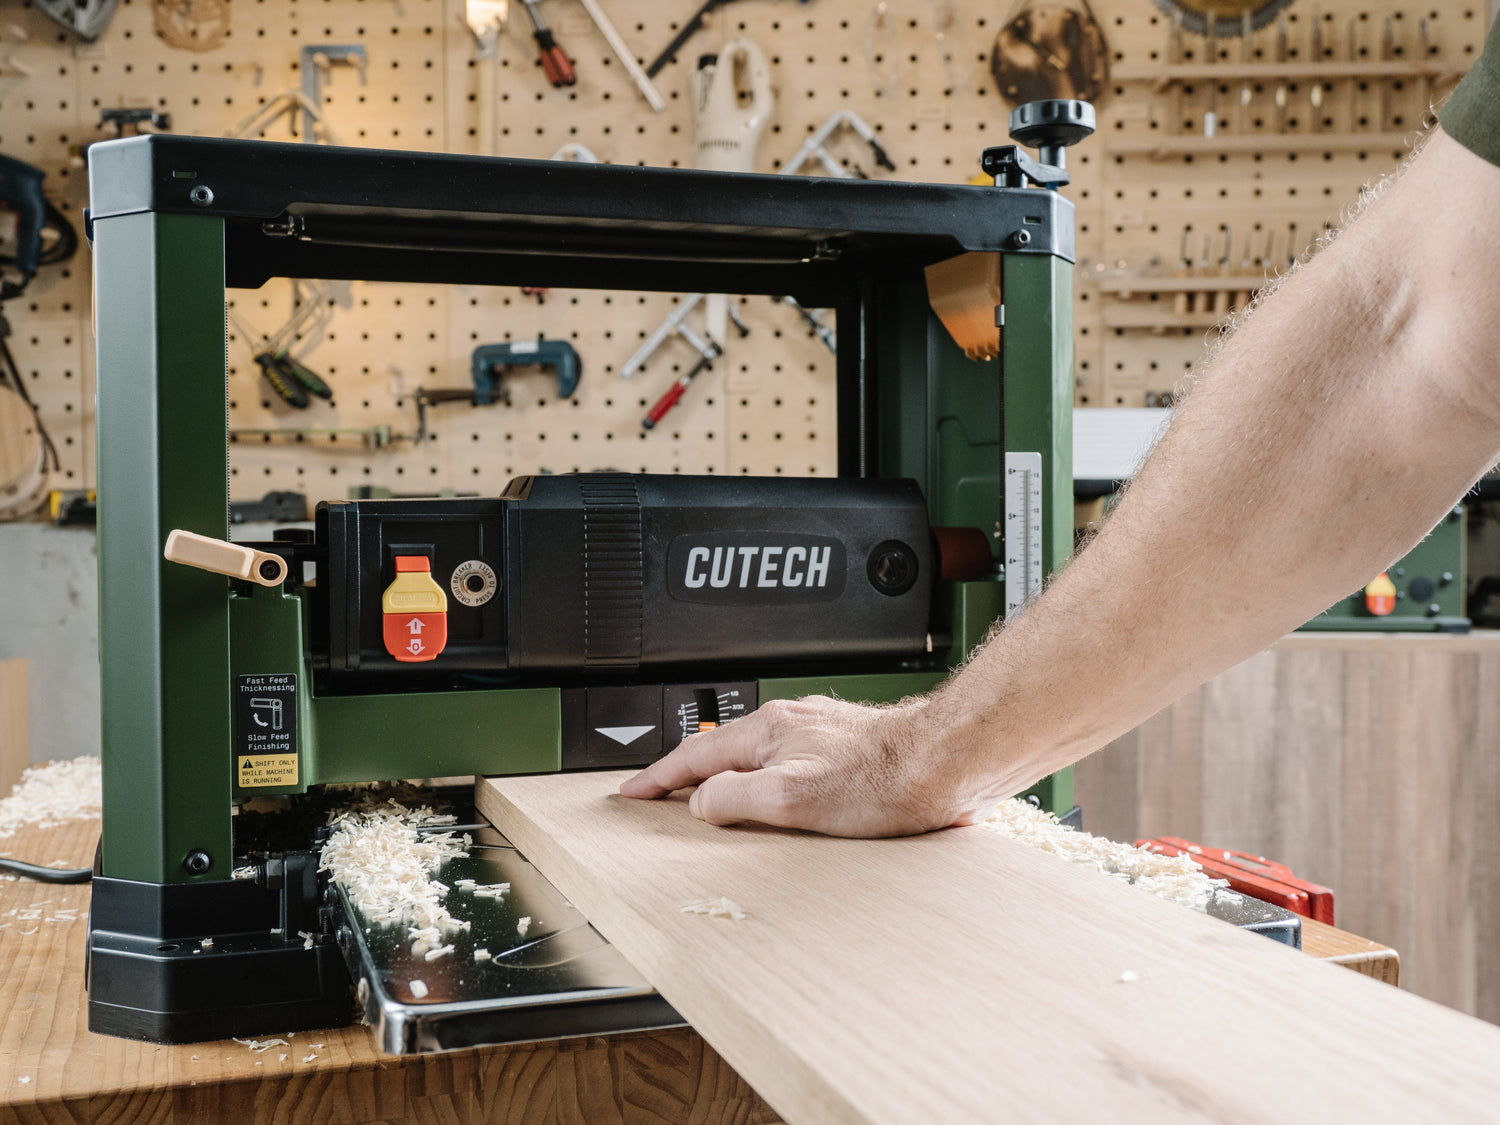
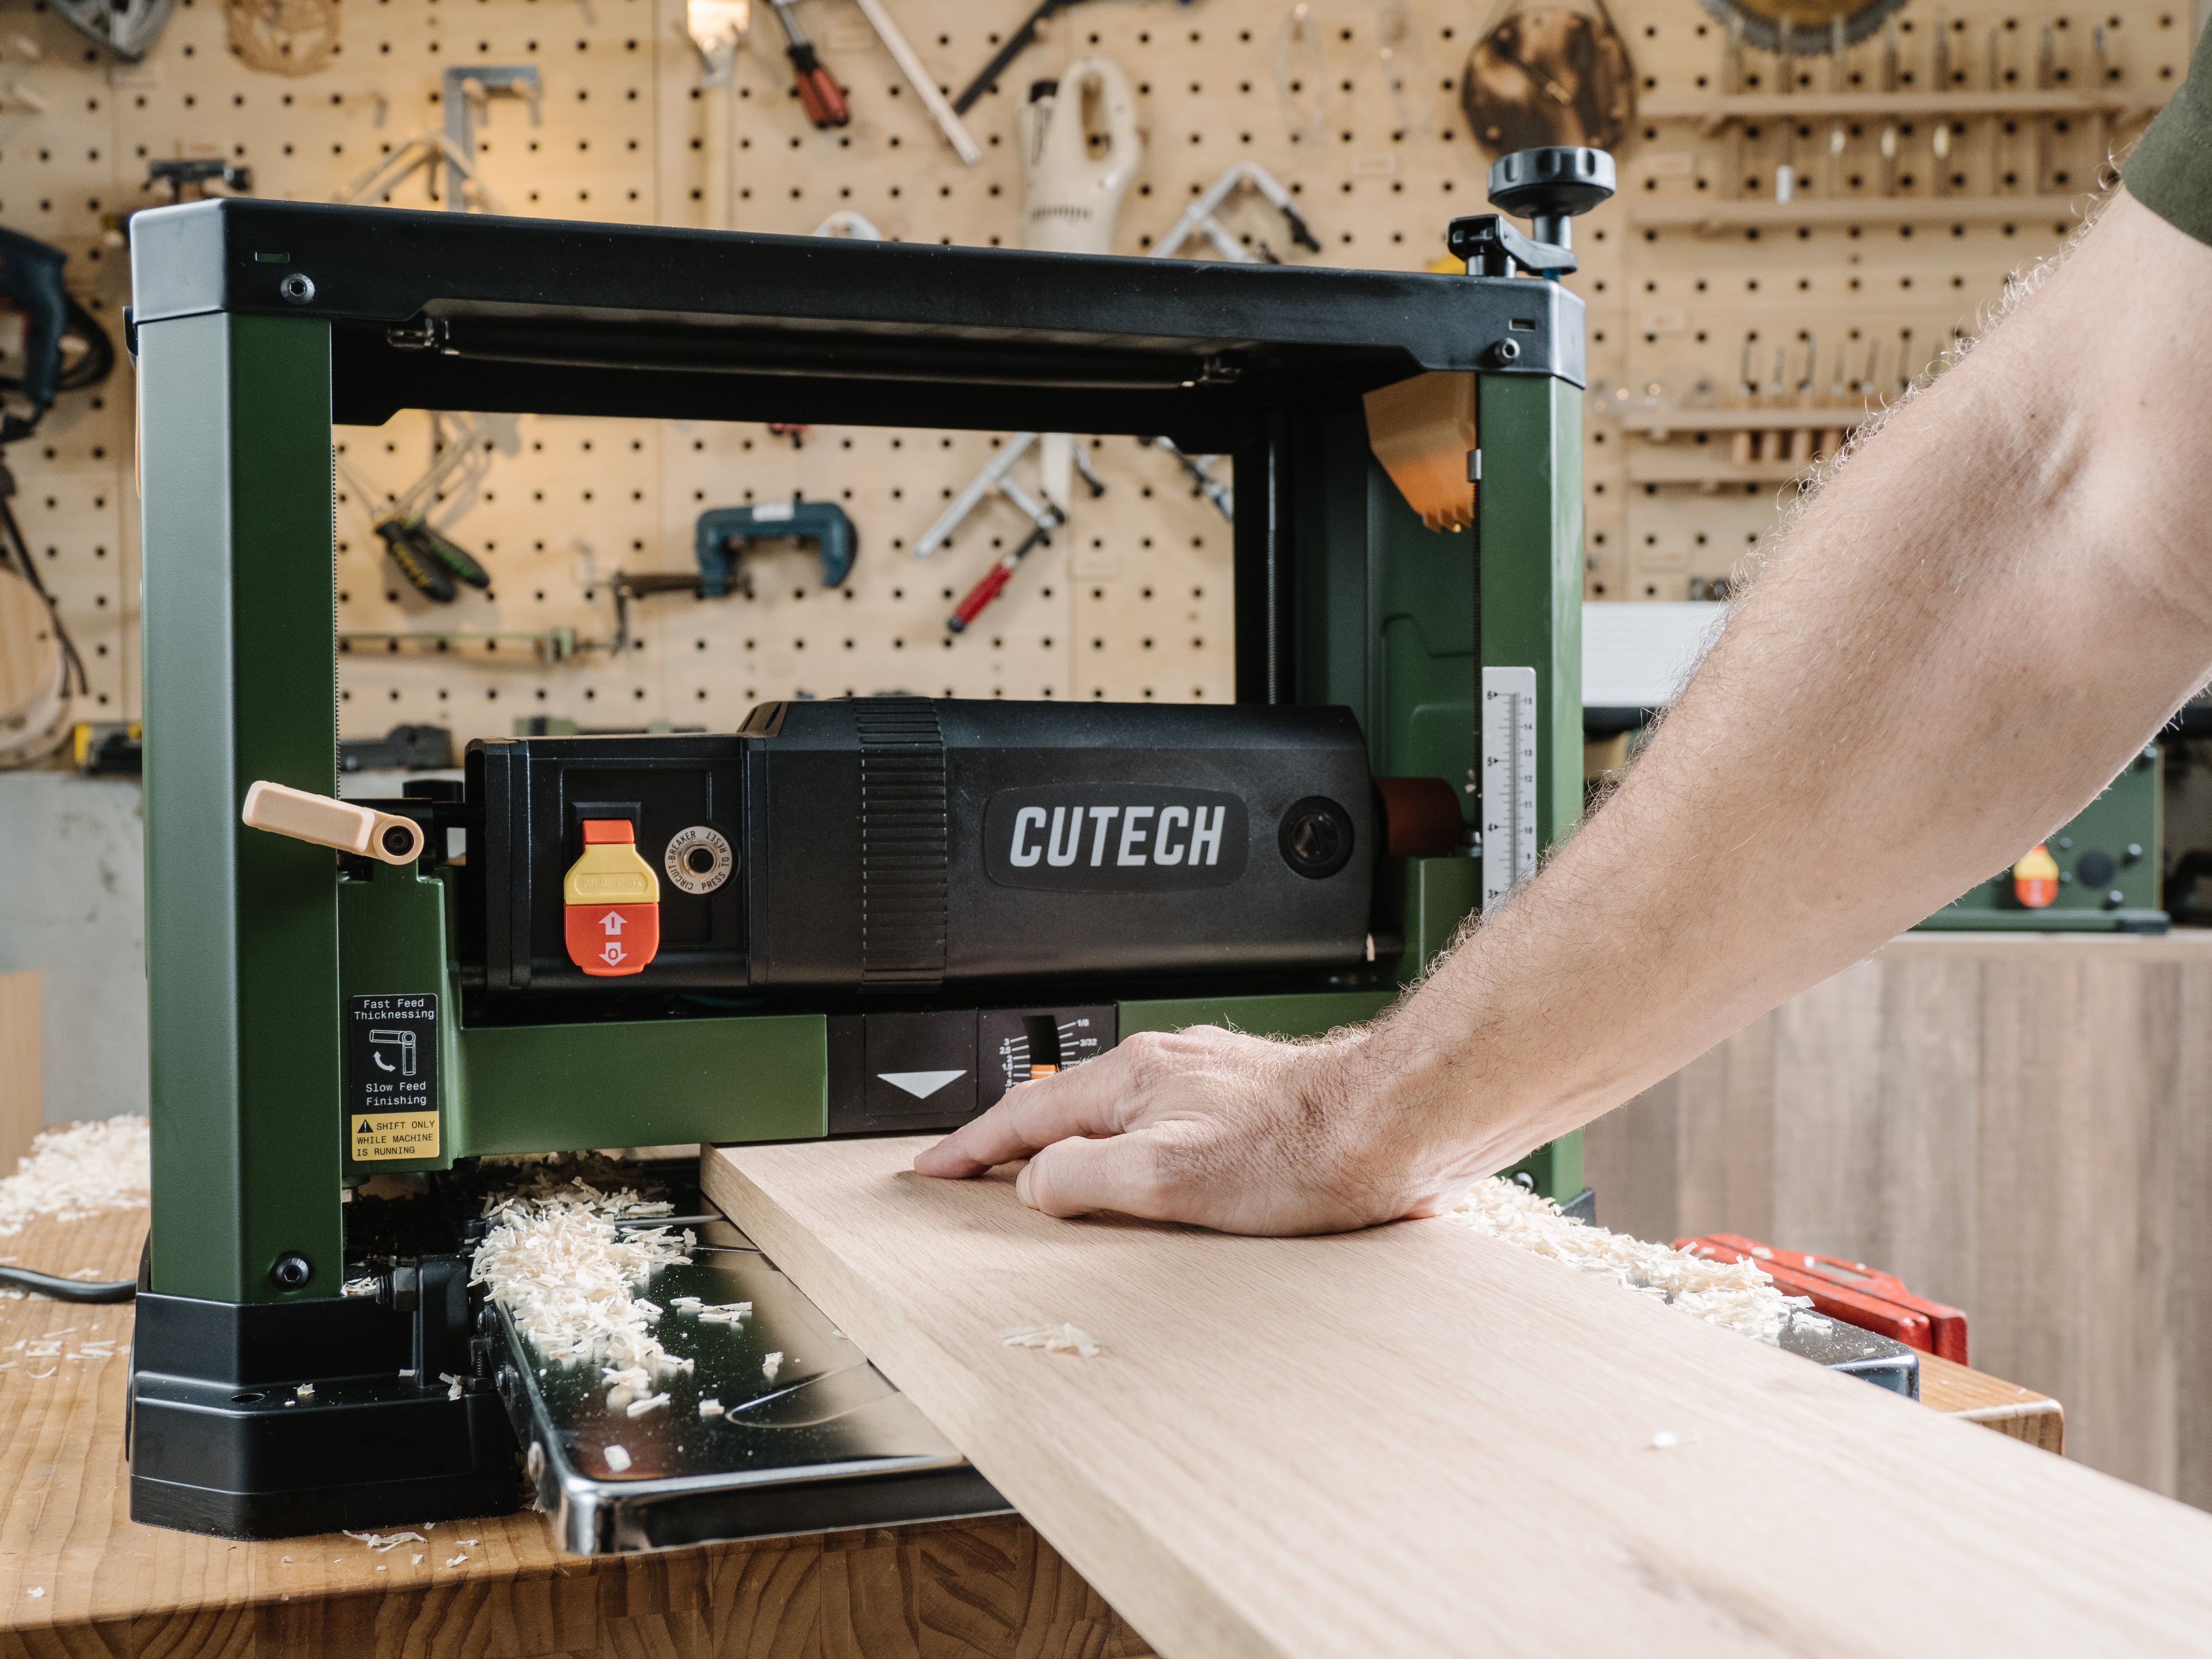
A planer is a woodworking tool designed to create a uniform thickness across the length of a wood board by shaving off the surface layers. It is essential for preparing rough lumber and creating smooth, even boards. The planer consists of a cutterhead equipped with sharp blades, feed rollers that move the wood through the machine, and an adjustable frame that controls the depth of cut. Whether you're working on custom furniture or home improvement projects, a planer is indispensable for precision woodworking.
Learn more about planers in our detailed article on What is a Wood Planer Used for?
Setting Up to Use a Wood Planer
Before operating a planer, it's crucial to ensure everything is properly set up for optimal performance and safety. Here’s what you need to do:
1. Upper Frame Parallelism
Before using the planer, it’s crucial to check the parallelism of the upper frame where the cutterhead is mounted. Ensure that the upper frame is aligned with the base. This step is vital to avoid uneven cuts, which can compromise the quality of your workpiece.
2. Extensions
Inspect the extension components for stability and proper alignment with the central table. Improper setups can lead to inaccuracies during operation, resulting in increased snipe and reduced overall performance of the planer.
3. Inserts
To ensure a smooth finish after planing, it is recommended to use a soft object, such as a plastic pen cap, to probe for any nicks or damage on the blade. A damaged blade can leave lines on the planed workpiece, so it should be replaced. Even if the blade appears intact, if you notice that the planed surface is becoming rough and losing its sheen, it indicates that the blade has dulled and should also be replaced.
4. Additional Support
When preparing to work with heavy or long workpieces, additional support, such as roller stands or a second person, will be necessary. During the planing process, if the ends of a long board are not adequately supported, they may sag due to gravity. This could result in uneven contact between the board and the base, causing uneven thickness, inconsistent feeding, and potentially overloading the machine.
Usage Instructions for a Planer
1. Depth Of Cut Indicator
The Depth of Cut Indicator shows the amount to be taken off in the next planing. Adjust the cutting depth according to the reading of the depth of cut indicator. Maintaining the proper depth is key to achieving a smooth finish and preventing motor overload and damage to the machine.
2. Scale
The Scale shows the thickness of the wood after planing. Setting the right thickness based on your project requirements is essential for precise cuts.
3. Snipe Reducing Mechanism
Engage the snipe reduction mechanism before you start planing. Snipe is unwanted deeper cuts that can appear at each end of the wood stock. This feature minimizes the amount of snipe after cutting.
4. Dust Collector
To keep your workspace clean, connect a dust collector to the planer. This will help manage sawdust and debris, improving visibility and safety while you work.
Safety Considerations / Safety Measures for Using a Planer
Material Evaluation
Different models of planers have their own capacities, and we must ensure that the workpiece remains within the allowable width and height from end to end. Feeding a workpiece that exceeds this capacity may cause damage to the workpiece itself or to the planer. Additionally, planers provide recommended maximum cutting thicknesses based on the hardness and width of the wood. Inappropriate thickness settings can increase the risk of damage to the workpiece, blades, and machine.
How to Use a Wood Planer
Now that your planer is properly set up and you’ve taken the necessary safety precautions, it’s time to get to work. Here’s how to use the planer step by step:
1. Flatten One Face (or Prepare the wood stock)
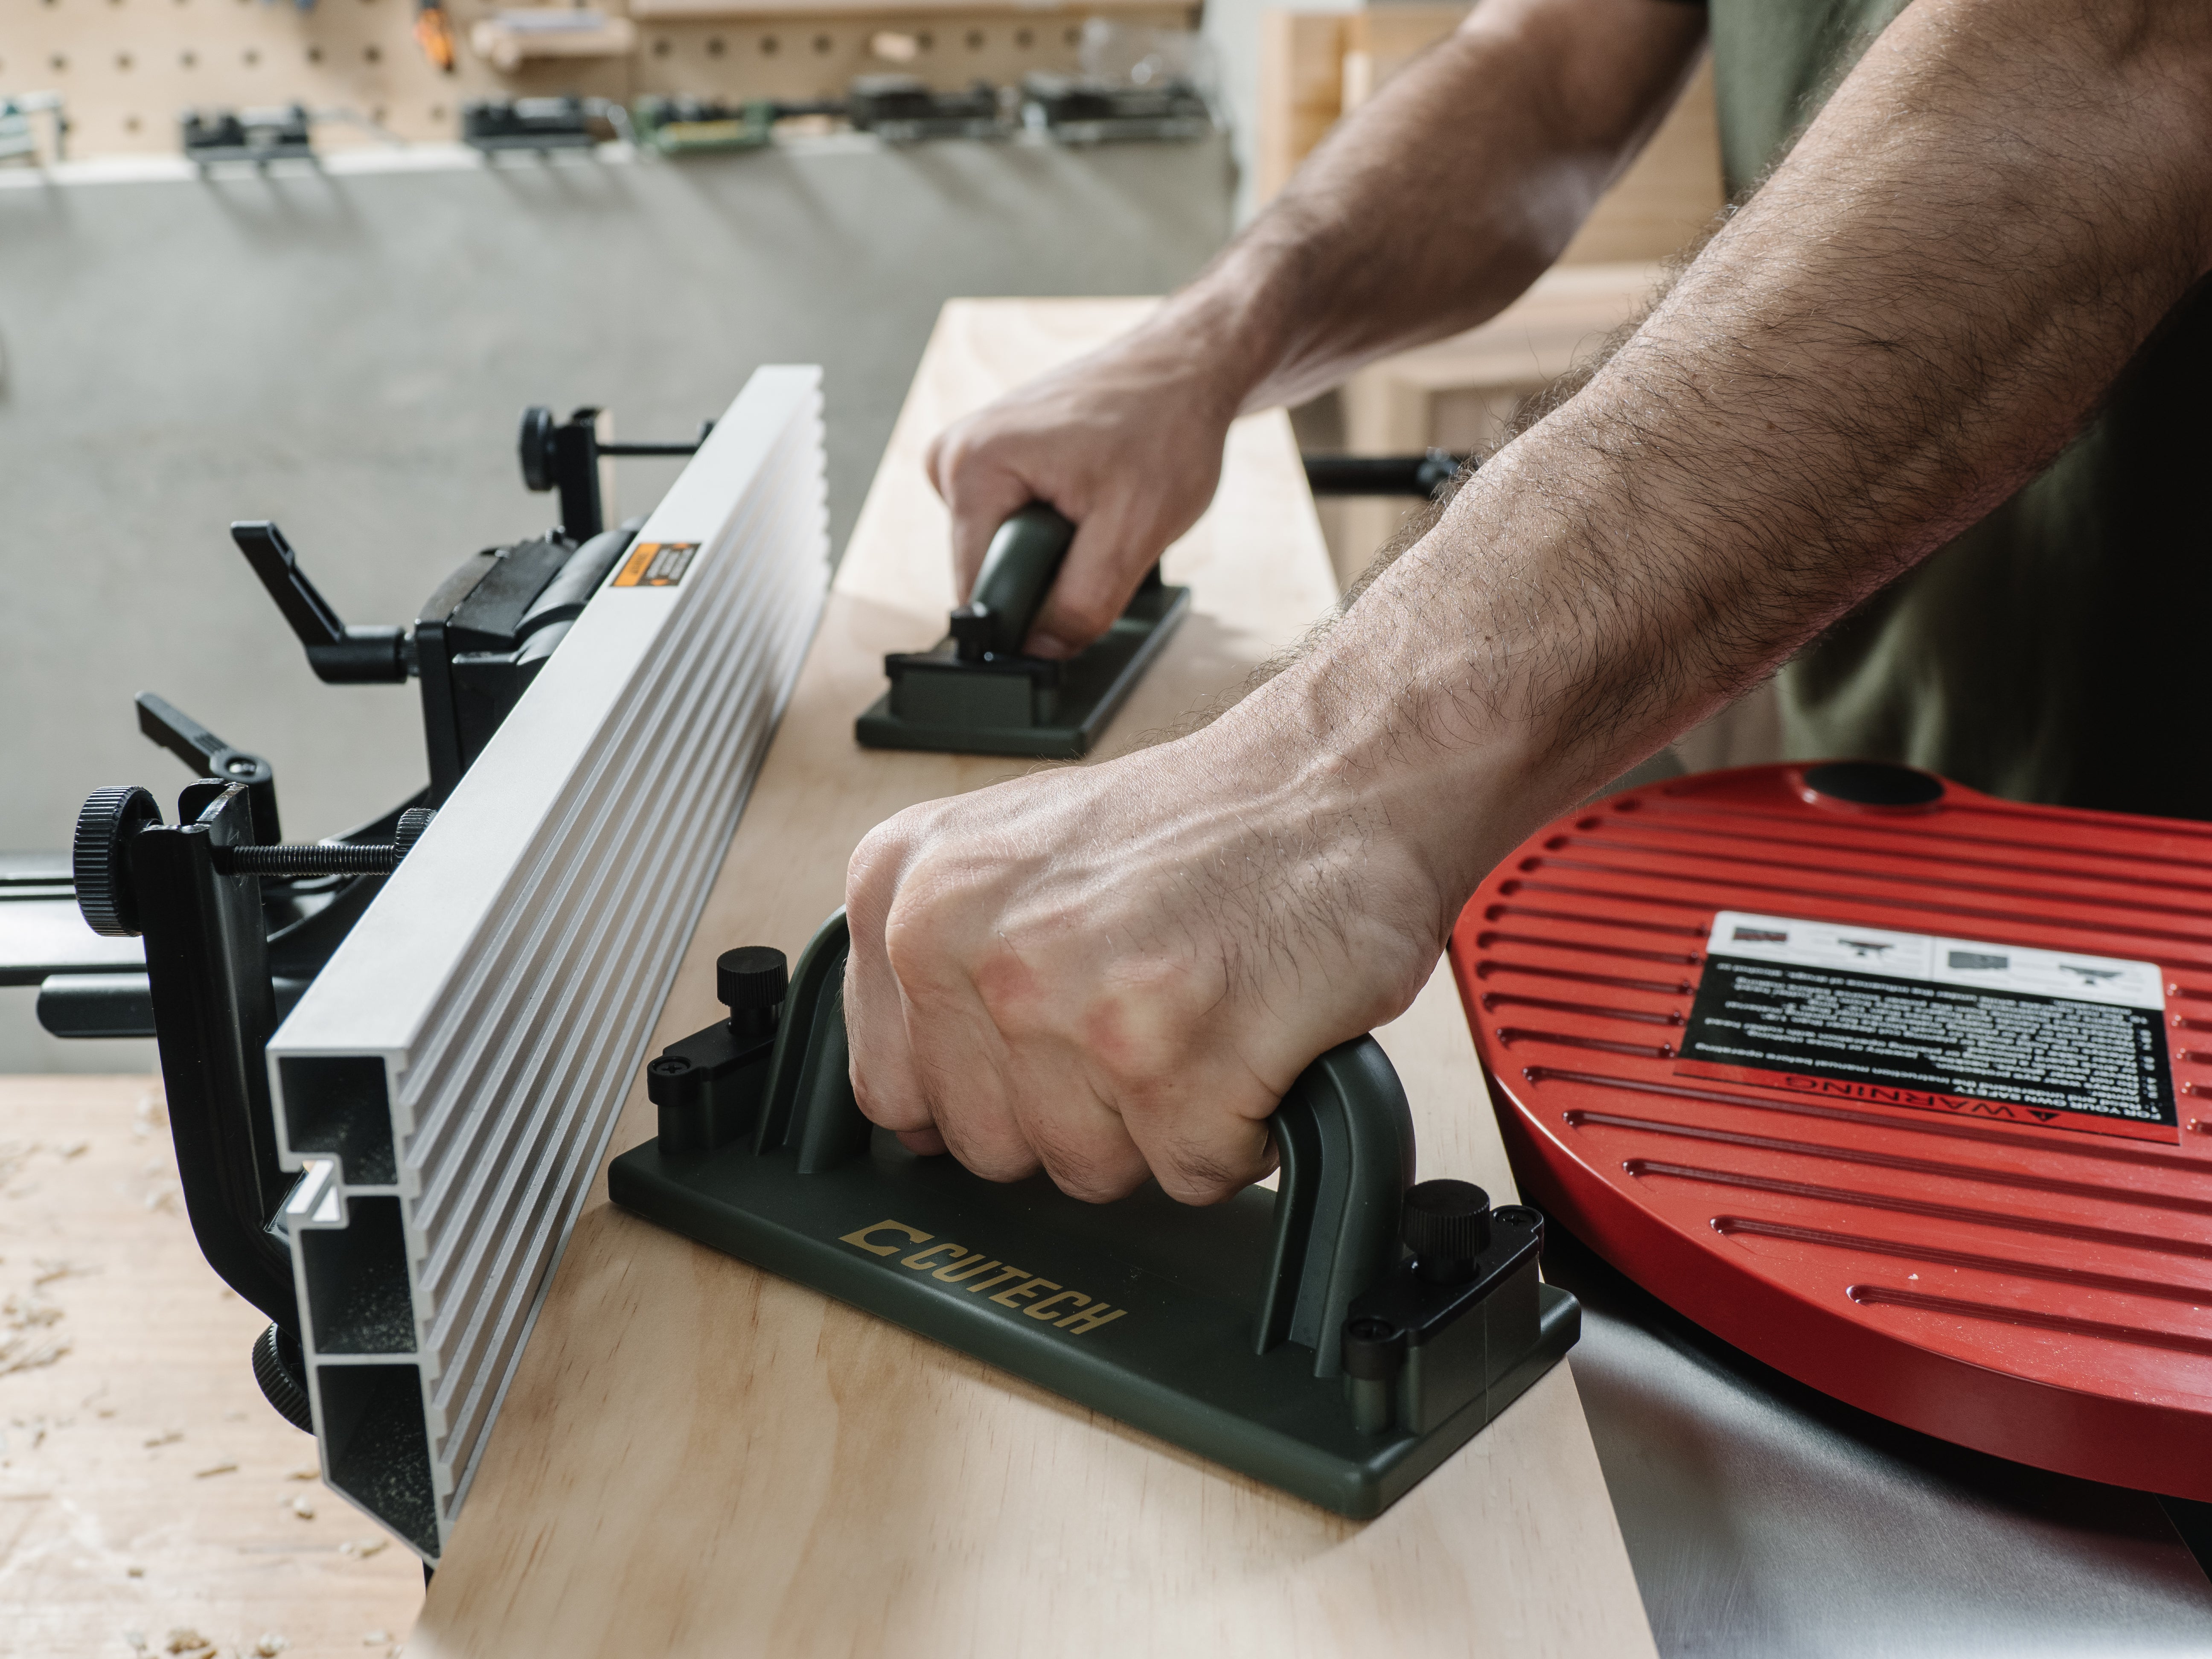
Before a planer can do its job properly, one face of the wood stock needs to be flattened with a jointer. This will serve as a reference for all subsequent cuts, ensuring stability and accuracy in your project.
2. Reserve Some Depth For Finishing
Leave a bit of thickness for finishing touches. This extra material allows for a final thin cut or sanding that enhances the final appearance of your workpiece.
3. Feed From The Thicker End
Always feed the wood into the planer starting from the thicker end. This technique helps maintain control over the cutting depth and reduces wear on the blades, prevents overloading the motor and damage to the machine.
4. Reduce/Eliminate Snipe
To minimize or eliminate snipe, regularly check and maintain proper machine setups. More tips for reducing/eliminating snipe can be found here: What is Planer Snipe? 4 Essential Ways to Minimize Snipe
Maintenance Tips for a Planner
To keep your planer running smoothly and ensure it lasts for years, regular maintenance is essential. Here are some key tips:
1. Clean Out Sawdust
After each use, make sure to clear away sawdust from the machine. Keeping the planer clean not only maintains a tidy workspace but also prevents buildup that could affect the machine’s performance.
2. Lubricate Moving Parts
Regularly lubricate the moving parts of the planer. Proper lubrication prevents rust, ensures smooth operation and extends the lifespan of the tool. (What kind of lubricant?)
3. Wax the Planer Bed
Apply wax to the outer surfaces of the machine periodically. This protects against damage and helps maintain an aesthetically pleasing appearance, keeping your planer in great condition for future projects.
Best Spiral Cutterhead Benchtop Planer - Cutech
Cutech’s spiral cutterhead planers feature a unique design that enables easy blade changes and significantly reduces noise. With custom-made inserts, they deliver smooth, precise cuts while using minimal energy—achieving the lowest amp draw compared to traditional straight blade and helical cutterheads.
Here are two recommended Cutech spiral cutterhead planers:
Cutech 12 1/2" 40700H Planer
A powerhouse machine wrapped up in a small package.
The small and mighty 40700H benchtop planer may be diminutive in size but housed inside is a powerful 15-AMP motor with a cutterhead speed of 10,000 RPM. When lugging around an overweight planer won't do, the 56 lbs 40700H planer can handle boards up to 12 1/2" wide and 6" thick. Like its big brother, this guy has the same spiral cutterhead with 24 indexable 2-sided inserts to ensure a smooth finish time after time. The new board return rollers make transfering the board back to the front a breeze.
Cutech 13" 40800H 2-Speed Planer
Cutech's newest addition to its planer family.
The all-star planer that's large enough to accommodate 13" wide boards, while having a small footprint for those limited on space. An upgrade to the straight knife machine, the Cutech planer uses 26 indexable inserts on a spiral cutterhead that performs beautifully on even the most difficult materials. Projects made simple from end grain cutting boards to hard maple flooring, the Cutech spiral cutterhead planer will thickness your boards to a fine finish. The patented snipe minimizer is built into the basic functioning of the machine while the 2-speed feature will enhance the finish of any board you choose.


