Table of Contents
How does a jointer work? Learn how to use a jointer for edge jointing and board flattening with this essential guide. Get key tips on setup, safety, and technique for smooth results.
How Does a Jointer Work?
A jointer is a fundamental woodworking machine designed to create smooth, flat surfaces on wood boards. It plays a crucial role in preparing lumber for precise joinery, ensuring that edges and faces are straight, flat, and square. Whether you are working on furniture, cabinetry, or other woodworking projects, a jointer helps improve accuracy and consistency, leading to better overall craftsmanship.
Structure of a Jointer
A typical jointer consists of the following key components:
-
Infeed Table – The starting platform where the board is placed before passing over the cutter head. It can be adjusted to control the depth of cut.
-
Outfeed Table – The surface where the board exits after being cut. It must be level with the highest point of the cutters to a consistent cutting depth and flat surface.
-
Cutterhead – A rotating drum fitted with sharp knives or spiral cutter inserts that remove material from the wood surface.
-
Fence – A vertical guide positioned at a 90-degree angle (or adjustable for bevel cuts) to ensure square edges or edges at desired angle.
-
Guard – A safety cover that automatically covers the exposed cutterhead when not in use, reducing the risk of accidental contact with the sharp, spinning blades.
-
Adjustment Knobs/Levers – It adjusts the height of the infeed table, controlling how much material is removed with each pass. It also allows for precise adjustments to achieve the desired thickness of the workpiece.
Learn more about jointers in our detailed article on What Does a Wood Jointer Do?
Setting Up to Use a Wood Jointer
Before operating a wood jointer, proper setup is essential to ensure accuracy, efficiency, and safety. Adjusting the machine correctly ensures smooth, straight, and square cuts.
1. Position and Stability
A jointer should be positioned on a stable surface, ideally at a height that allows for comfortable control and movement of the workpiece. If using a benchtop model, make sure the workbench is sturdy and at a suitable height to avoid excessive strain during operation. Ensure a clear workspace for handling long boards.
2. Adjust Infeed and Outfeed Tables
The outfeed table should always be set level with the highest point of the cutter tips. This ensures a consistent cutting depth and flat surface without snipes (uneven cuts at the ends). For straight blade models, adjust the blades to be level with the outfeed table. For spiral cutterhead models, on the other hand, level the outfeed table to the cutter tips.
The infeed table should be fine-tuned to be coplanar with the outfeed table. Adjust the infeed table up or down based on the required depth of cut, typically between 1/32" and 1/16" per pass. Larger cuts can cause tear-out and put unnecessary strain on the motor.
3. Align the Fence for Square or Beveled Cuts
The fence should be set at 90 degrees to the tables for creating perfectly square edges. Use a machinist’s square to verify the alignment, making fine adjustments if necessary. For beveled edges, the fence can be adjusted to the desired angle (typically up to 135 degrees).
4. Check the integrity of the inserts or blades
Nicks on the cutting edges can leave unwanted lines on the finished surface. To prevent this, use a probe, such as a plastic pen cap, to inspect the cutting edges for nicks. Replace any nicked blades to ensure smooth finishes.
For a spiral cutterhead, rotate the insert 90 degrees to expose a fresh cutting edge, or replace the damaged insert without changing the entire blade.
5. Adjust and Secure the Blade Guard
The blade guard should cover as much of the cutter head as possible and only move when the board passes through. Make sure it returns to its original position automatically after each cut.
6. Set Up Dust Collection
Many modern jointers come with a dust collection port to keep the workspace clean. If your jointer has one, connect it to a shop vacuum or dust collector to minimize saw dusts buildup.
Safety Measures for Using a Jointer
Using a jointer requires strict safety precautions to prevent accidents. Always wear safety glasses and hearing protection to shield against wood chips and noise. Before starting, ensure the outfeed table is level with the cutter tips’ highest point and that the fence is securely positioned. Use push blocks to keep hands away from the cutterhead, and never remove the blade guard, which should always cover the cutting area. Feed the board smoothly, with the grain, to avoid tear-out and kickback.
After use, turn off and unplug the machine before making adjustments or cleaning. Regularly inspect the blades to maintain optimal performance and safety. Following these precautions will help ensure smooth, accurate jointing while minimizing risks.
How to Use a Wood Jointer
Now that your jointer is properly set up and you’ve taken the necessary safety precautions, it’s time to get to work. Here’s how to use the jointer step by step:
Step 1: Adjust the Jointer Settings
Set the infeed table for a light cut, typically 1/32" to 1/16" per pass to prevent excessive material removal. Ensure the outfeed table is aligned with the cutter head’s highest point. Adjust the fence to 90° for square edges or to the desired bevel angle if needed.
Step 2: Position the Board on the Jointer
Place the board flat on the infeed table with its concave side facing down (if bowed) and the grain running in the right direction. Hold it firmly against the fence for edge jointing.
Step 3: Make the First Pass
Turn on the jointer and slowly feed the board forward, applying even pressure on both the table and fence. Maintain a steady but controlled feed rate without forcing the wood. As the leading edge reaches the outfeed table, shift pressure from the infeed side to the outfeed side for a smooth transition.
Step 4: Repeat Until Flat or Square
For face jointing, continue passing the board over the cutter head until the entire face is flat. For edge jointing, make additional passes until the edge is perfectly straight and square to the face.
Advanced Tips for Using a Jointer
Mastering a jointer goes beyond basic flattening and edge jointing. Here are some expert tips for handling tricky boards and enhancing jointing precision.
Dealing with Crooked or Warped Boards
When jointing a crooked or bowed board, start by placing the concave side down on the infeed table. This ensures that the high points make initial contact with the cutter head. Avoid forcing the board flat against the table—this can result in an uneven cut. Instead, let the jointer gradually remove the high spots over multiple passes until the board is fully flattened. If the board is severely twisted, a wedge-cut sled or shim can help stabilize it during jointing.
Improving Edge Joints for Panel Glue-Ups
For edge jointing, always alternate the board’s face orientation against the fence (face-in on one pass, face-out on the next). This cancels out any slight angle errors and ensures a tight, gap-free joint when gluing up panels. Additionally, lightly joint both edges of mating boards to improve glue adhesion and eliminate minor irregularities.
Handling Long or Wide Boards
When working with long boards, use roller stands or an outfeed support table to maintain stability.For wide boards that won’t fit fully on the jointer’s table, first joint one side partially, then place the flattened section on a squared board to stabilize it. Next, use a planer to flatten and level the opposite side. Finally, with the second side as the base, run the board through the planer again to fully flatten the first side.
Related article: Jointer vs Planer: What's the Difference & Which to Choose
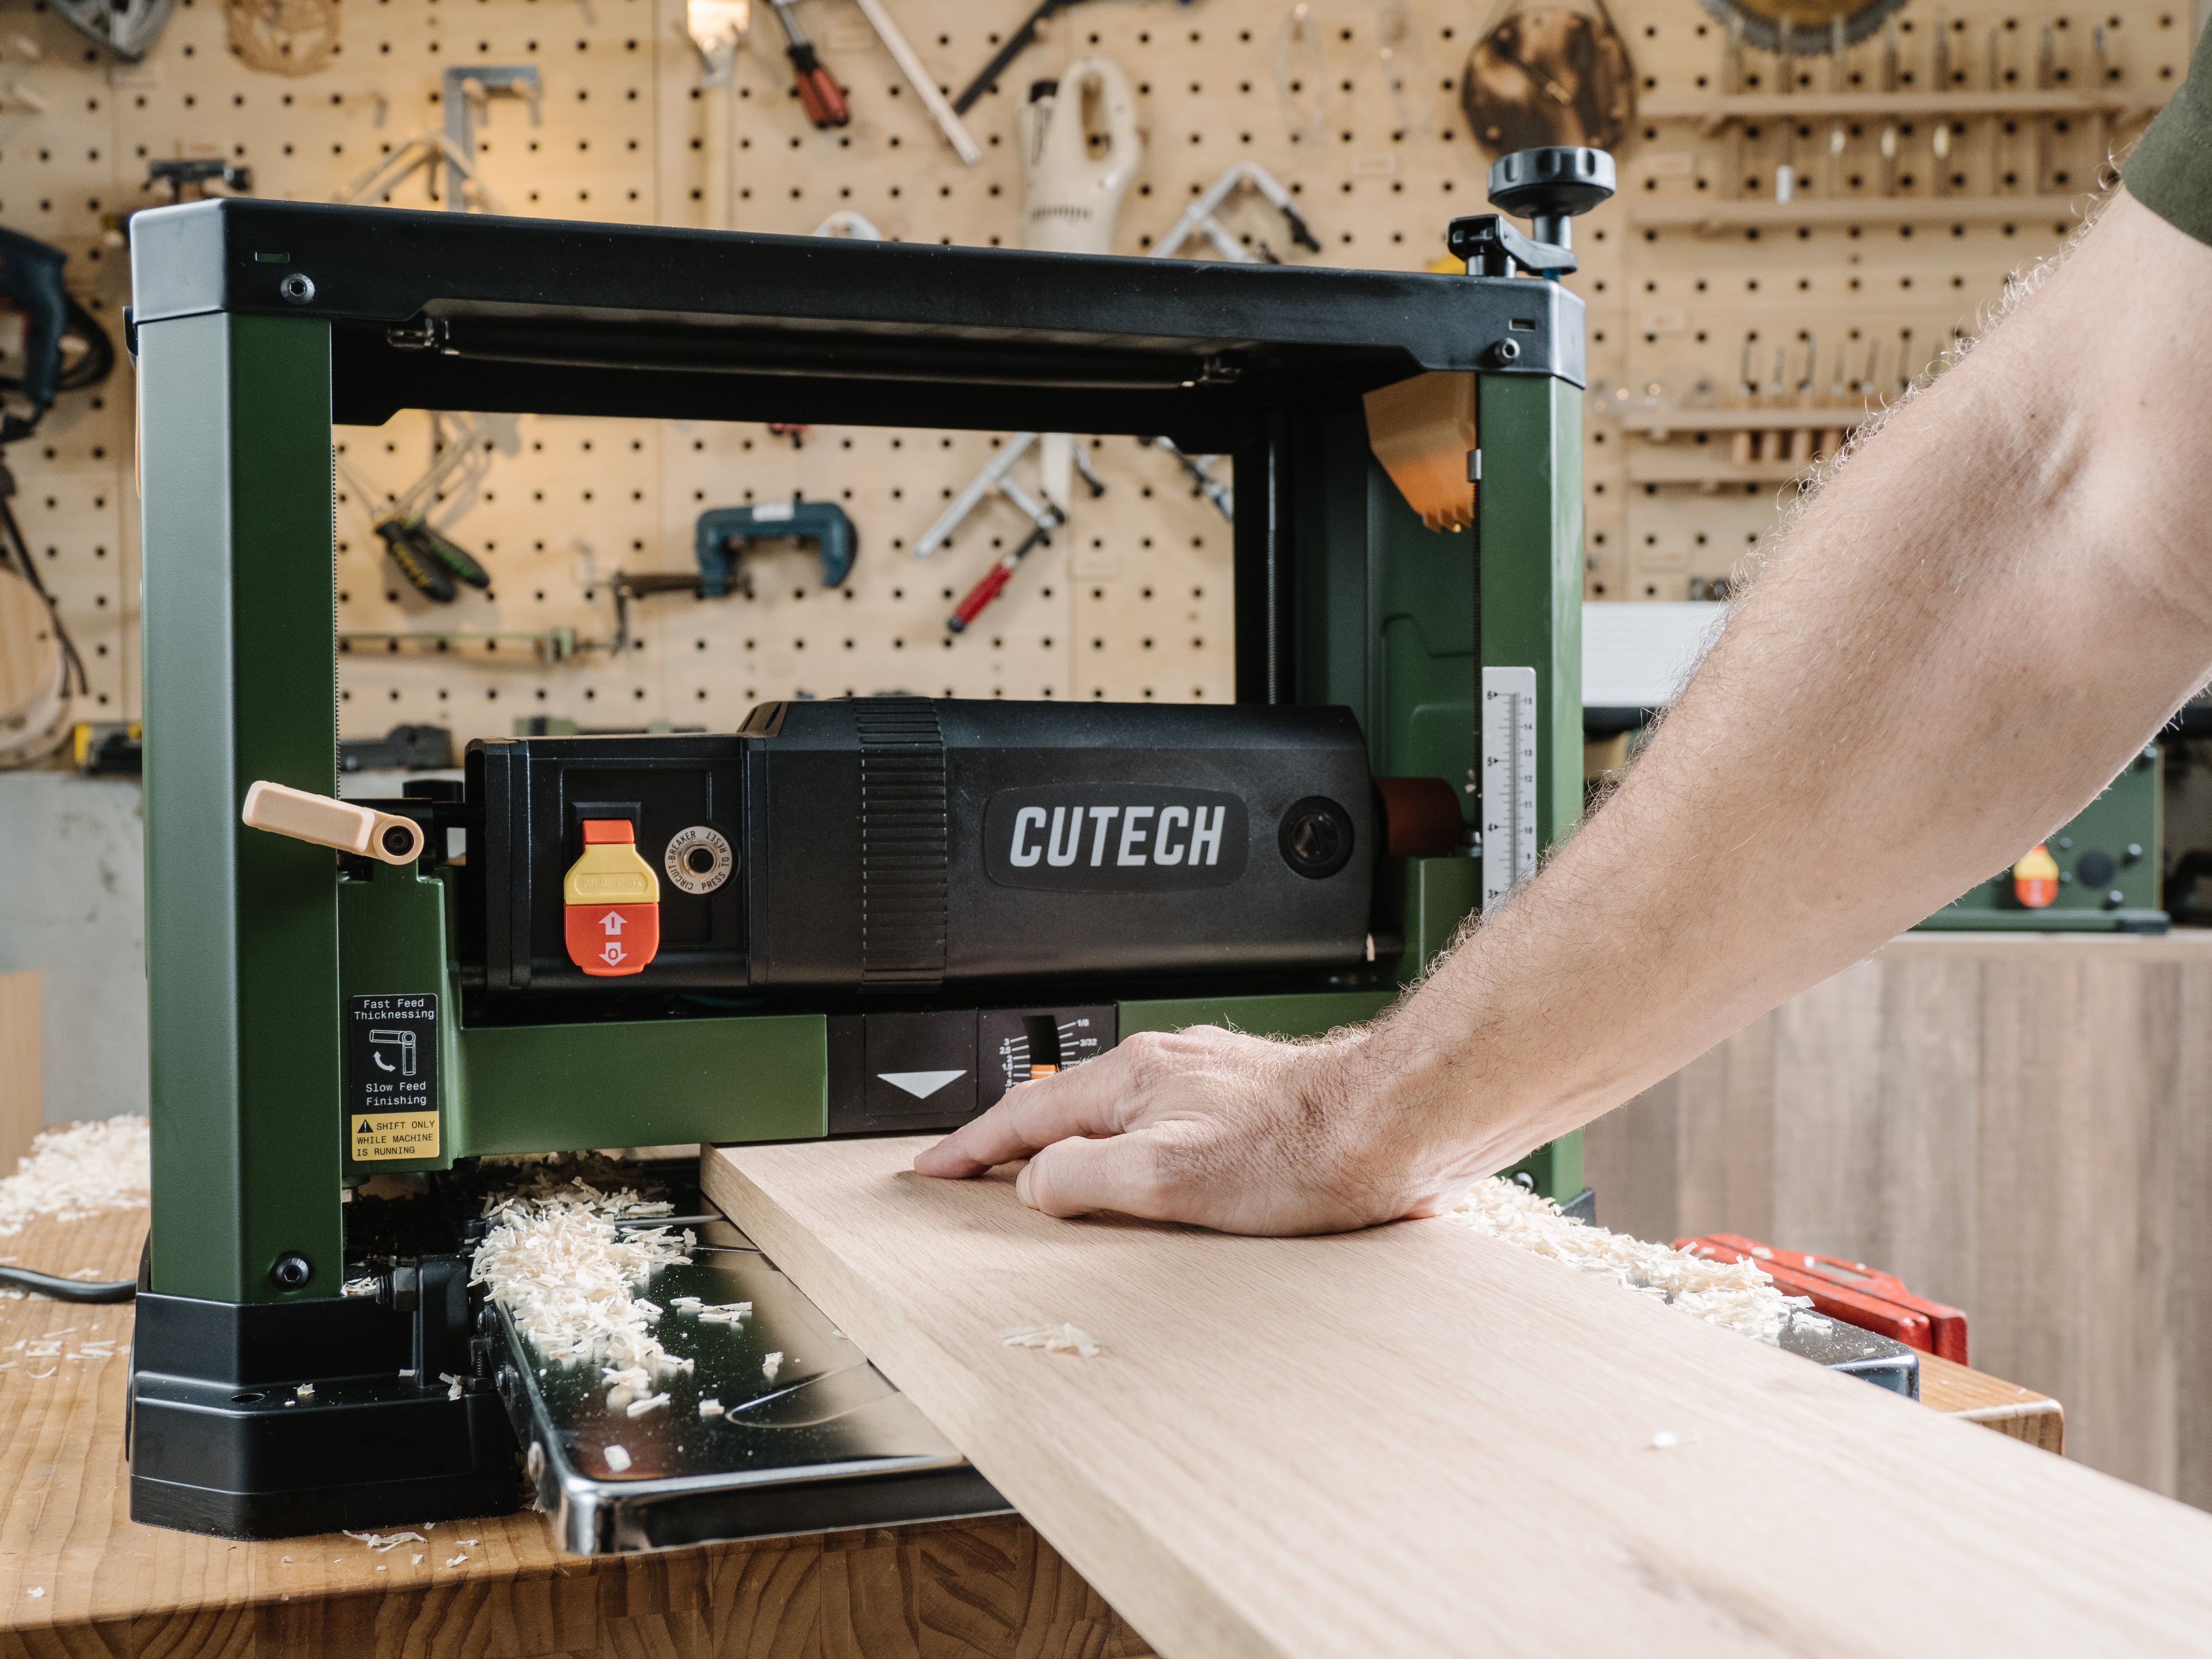
Best Spiral Cutterhead Benchtop Jointer - Cutech
Cutech 40180HB
The ideal midsize benchtop Cutech jointer with premium features like teflon coated tables to create a noncorrosive and nonreactive surface for your work pieces. This layer of protection reduces table scratches, increases the hardness of the aluminum table to 6H, thus extending the life of the tables. The spiral cutterhead comes standard with indexable 2-sided inserts to create perfectly flat and square boards to start off any project the right way. From simple flatting, to correcting defects in boards to edge jointing, the Cutech jointer is a valuable tool to deliver the precision cuts that woodworks need to make their projects come to life.
Learn more about CUTECH 40180HB Jointer
Cutech 401120HI
Introducing the sizable, extra wide 12” Cutech jointer with the much sought after cast iron tables. The beloved spiral cutterhead straightens out any board irregularities with ease. The 401120HI comes standard with a longer fence and fence enhancement brackets to keep tolerance tight from start to finish. Unrivaled 12-amp Motor gives this jointer extra muscle for tough jobs. Well thought out new design features along with increased performance capable of tackling large jobs.
Learn more about CUTECH 401120HI Jointer