
Achieving large, flat, and continuous wood surfaces is one of the ultimate milestones in woodworking. Since natural solid timber rarely grows wide enough for tabletops or cabinet sides without warping, learning how to master the edge joint is essential. This guide covers everything you need to know about edge joining boards to build strong, seamless wood joints that last a lifetime.
What Is an Edge Joint?

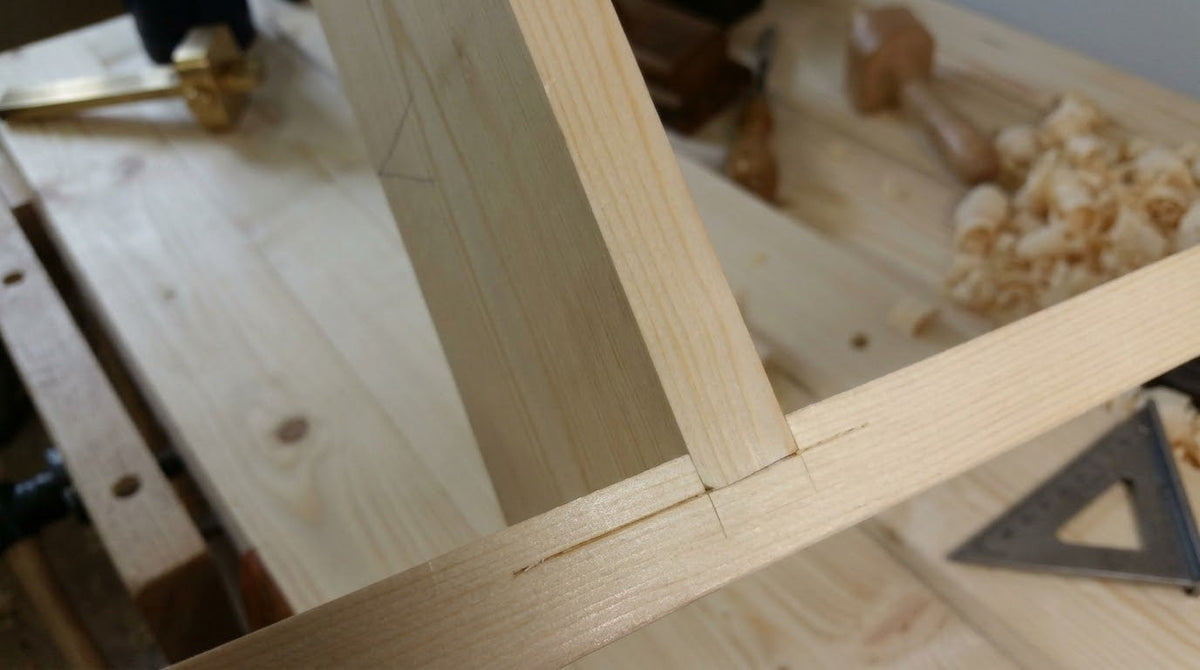
An edge joint (also called an edge-to-edge joint) is a foundational woodworking technique where the long edges of two or more narrow boards are glued side-by-side to create a single, wider panel.
Because wood fibers run lengthwise along a board, edge joining relies on long-grain-to-long-grain contact. When mating surfaces are milled perfectly flat and square, modern PVA wood glues deeply penetrate these fibers, creating a bond that is stronger than the wood itself.
Key Characteristics
| Feature | Description |
|---|---|
| Ease of Construction | Moderate. Requires accurate board jointing and careful clamp pressure. |
| Joint Strength | High. Long-grain glue bonds create exceptional structural strength. |
| Versatility | Maximum. Essential for creating wide panels out of narrow stock. |
💡 Not Sure Which Joint to Use?
Edge joints are designed to widen boards along their grain. See how they differ from structural end-grain or frame joints:
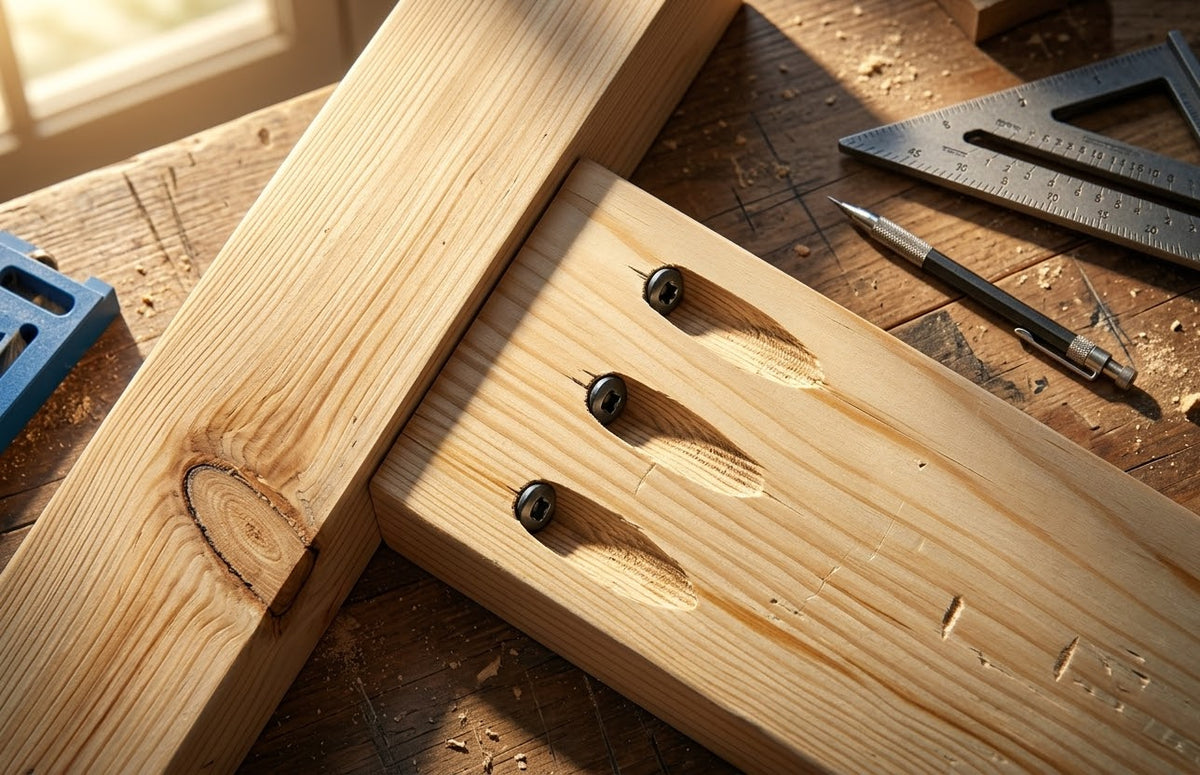
- Pocket Hole Joint: Uses angled mechanical fasteners for fast box assembly and frame connections.
- Biscuit Joint: Uses compressed wood ovals primarily as alignment aids during edge-to-edge panel glue-ups.
Edge Joint Advantages and Disadvantages
Advantages
✅ Superior Strength: Long-grain glue bonds create a seam stronger than the wood itself.
✅ Seamless Appearance: Flat edges eliminate visible gaps for a clean, continuous grain look.
✅ Resource Efficient: Converts narrow boards into wide, stable custom panels.
✅ Minimal Hardware: Creates a permanent bond without screws, nails, or brackets.
Disadvantages
❌ Precision Dependent: Poorly milled edges leave gaps and weaken glue performance.
❌ Prone to Slippage: Wet glue makes boards slide out of flush alignment under pressure.
❌ Specialized Clamping: Requires multiple parallel or pipe clamps for even pressure.
What Are Edge Joints Used For?
Edge joints are the industry standard whenever a project requires flat, wide solid wood surfaces that cannot be cut from a single log:
Dining Tables & Desktops
Joining multiple 1x6 or 1x8 boards into massive, flat tabletops.
Cabinet Carcasses & Sides
Assembling solid wood panels for dresser sides, bookcase frames, and kitchen cabinetry.
Cutting Boards & Butcher Blocks
Laminating hardwood strips edge-to-edge for heavy-duty kitchen prep surfaces.
Solid Wood Drawer Bottoms
Creating thin, wide panels that slide into drawer side grooves.
To Reinforce or Not? Edge Joints vs. Reinforced Panels
A common question among woodworkers is whether a plain glued edge joint is strong enough on its own. While modern glue provides all the structural bond required, reinforcing elements like biscuits or dowels play a crucial role in preventing boards from slipping out of alignment during glue-up.
| Method | Production Speed | Strength Level | Primary Purpose | Best Application |
|---|---|---|---|---|
| Plain Edge Joint | Fast | Very High | Pure Bonding | Standard tabletops & panels |
| With Biscuits | Moderate | Very High | Alignment | Wide tabletops & general paneling |
| With Dowels | Moderate | Extreme | Alignment + Shearing Resistance | Heavy butcher blocks & thick slabs |
| Tongue & Groove | Slow | Extreme | Mechanical Interlock + Alignment | Flooring, cabinet doors & wall planking |
-
Plain Edge Joint vs. Biscuits/Dowels: Biscuits and dowels do not significantly increase the tensile strength of an edge joint because PVA glue on long grain is already stronger than the wood. However, they excel as alignment aids, preventing individual boards from sliding up or down while clamping wet glue.
-
Edge Joints vs. Tongue & Groove: Tongue and groove joinery creates a mechanical interlock that accommodates seasonal wood movement while preventing dust or light from passing through seams, making it superior for unglued planking and flooring.
The Path to Seamless Edge Joints: A Step-by-Step Guide
Precision Toolkit: Essential Gear for Edge Joining Boards
To achieve truly seamless wood joints, your workshop needs tools capable of milling flat, square edges and applying balanced force:
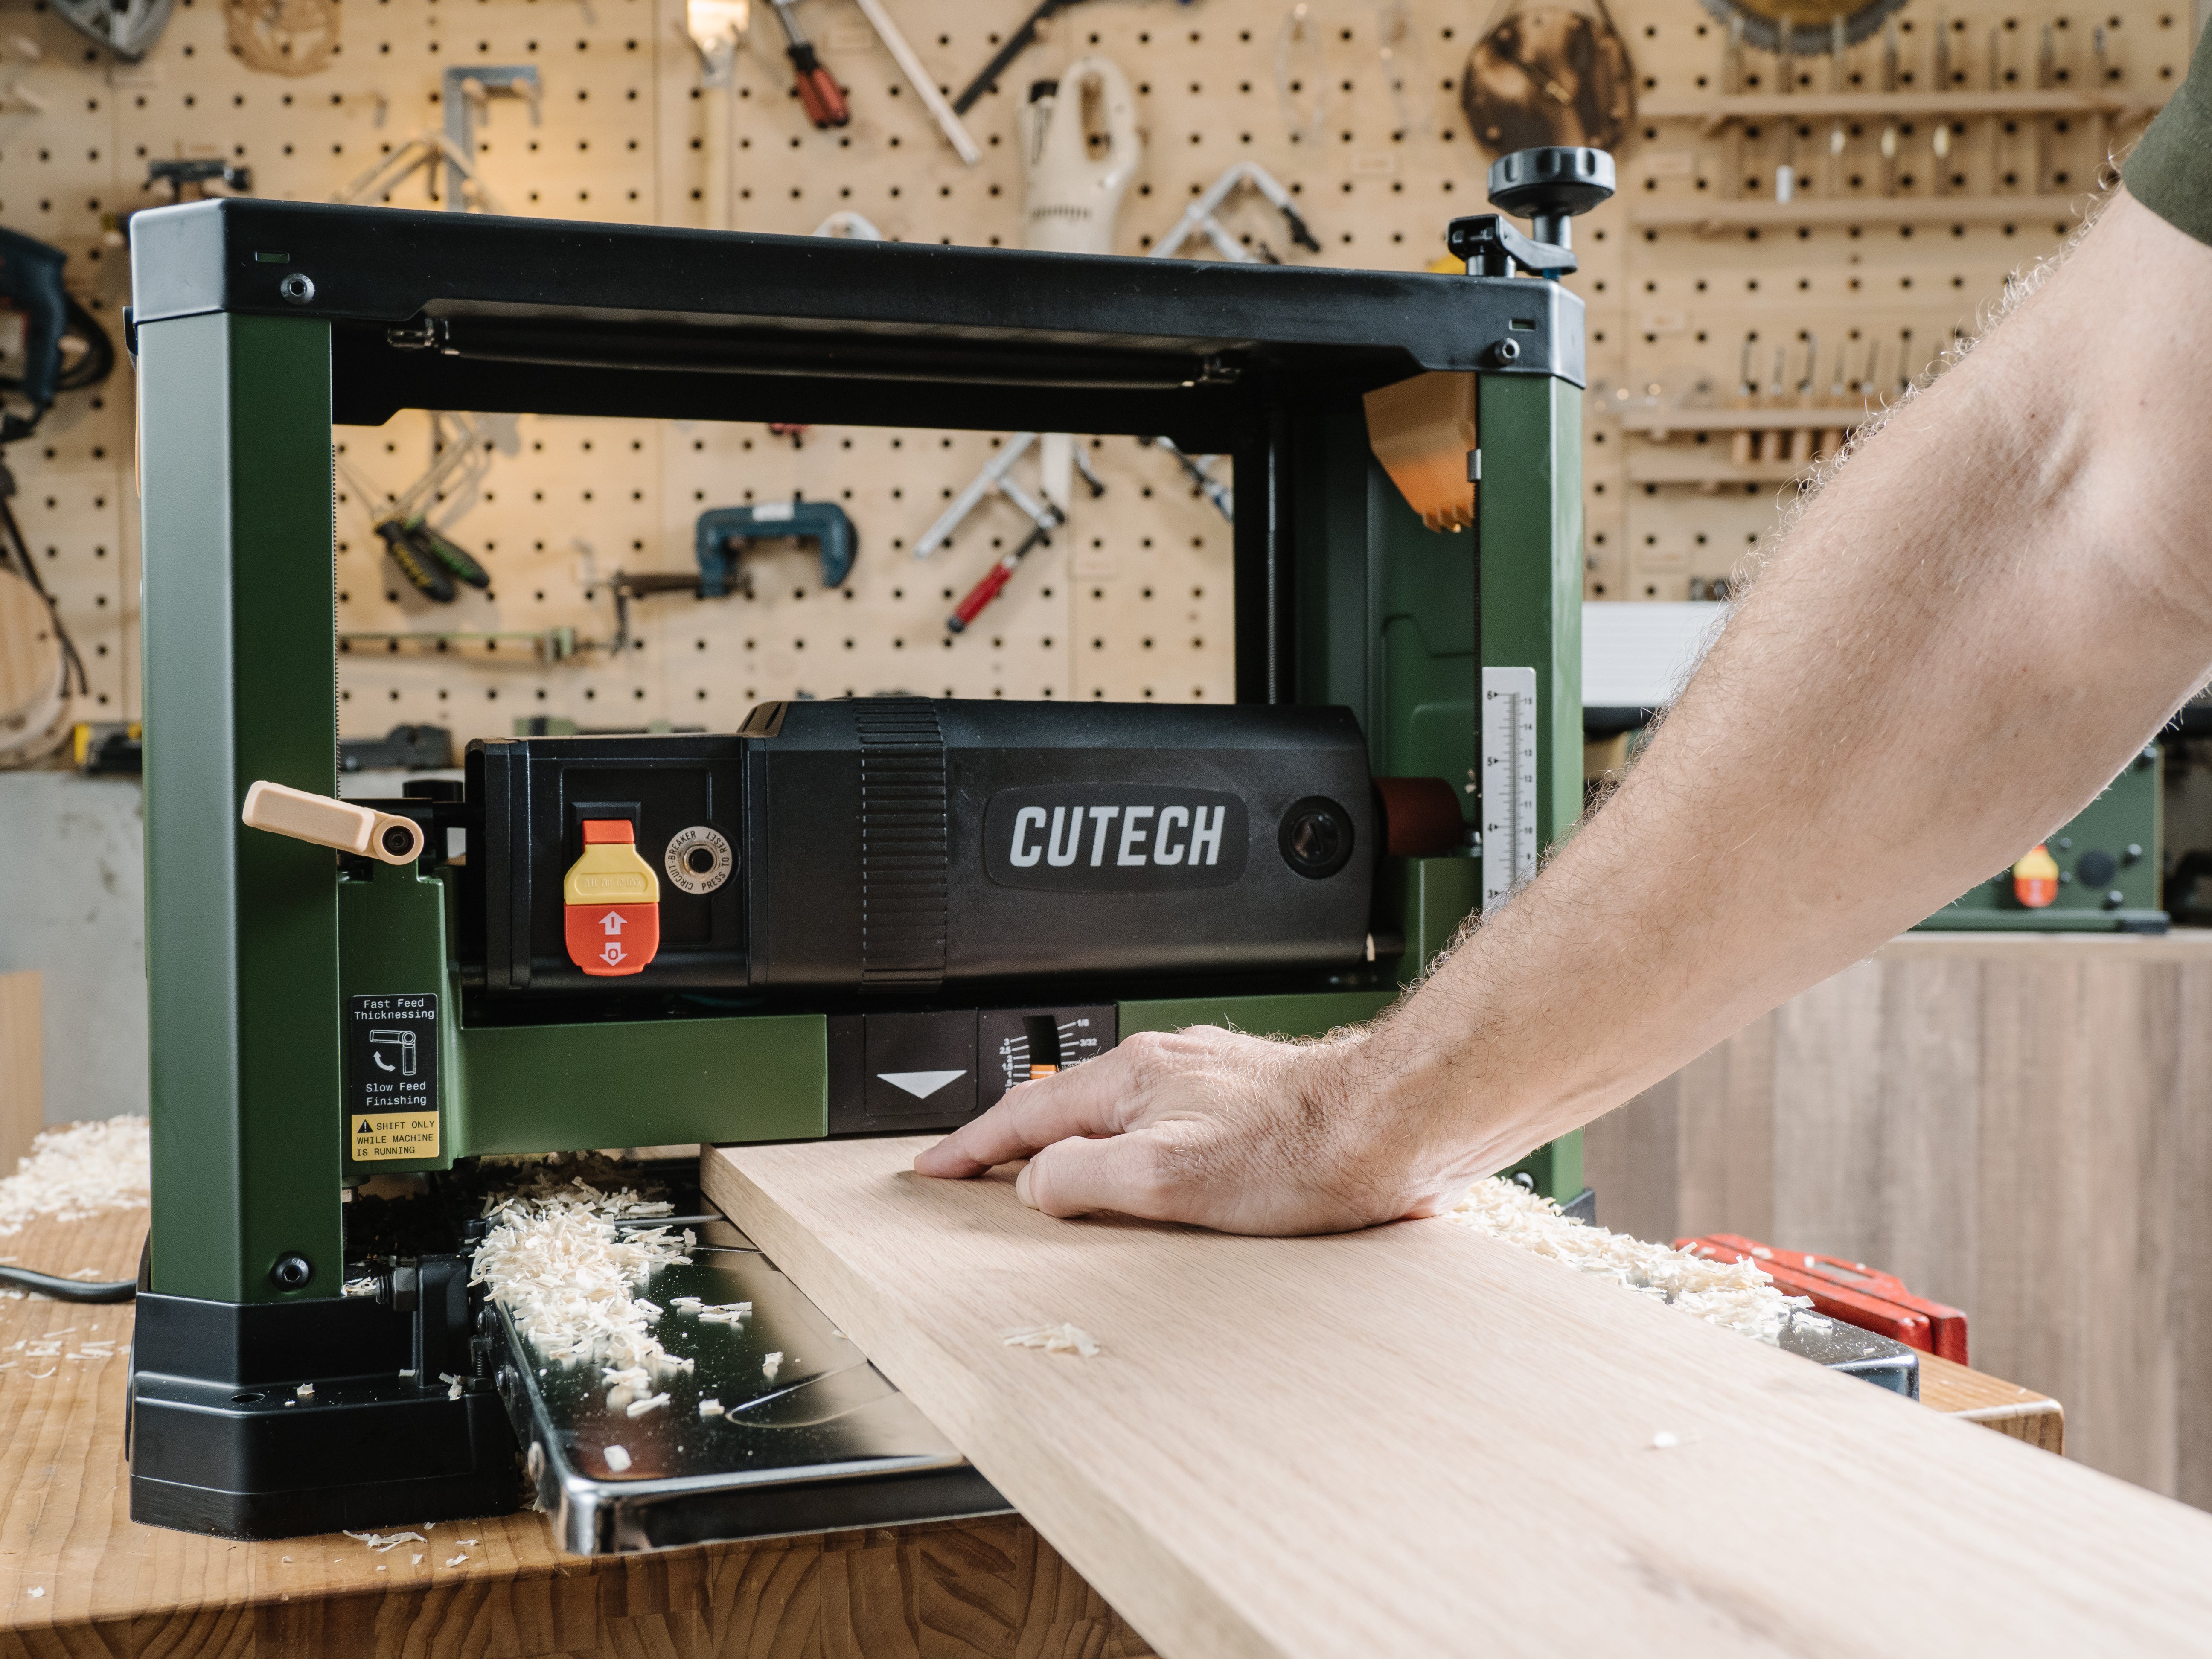
- Jointer or Hand Plane: Essential for flattening and squaring board edges to a perfect 90-degree angle.
- Table Saw / Track Saw: Equipped with a high-count rip blade to produce clean, tear-out-free edge cuts.
- Parallel Bar Clamps or Pipe Clamps: Heavy-duty clamps capable of applying high, distributed pressure without bowing the panel.
- Cauls (Clamping Wood Strips): Straight wooden bars clamped across the top and bottom of joint seams to keep boards flush.
- PVA Wood Glue & Glue Roller: Standard aliphatic resin glue provided with an even applicator to ensure 100% coverage.
- Cabinet Scraper or Putty Knife: Used for removing squeeze-out glue once it reaches a rubbery state.
Step-by-Step Guide to Making Edge Joints
Creating flat, gap-free edge joints requires careful grain arrangement and methodical clamping.
Step 1. Arrange and Match Wood Grain
Lay out your boards side-by-side. Alternating end-grain growth rings (one curving up, the next curving down) minimizes overall panel cupping over time. Match colors and grain patterns to create a natural, cohesive look, then draw a large carpenter's triangle ("V") across all boards to maintain orientation.
Step 2. Joint and Square the Edges
Mill the mating edges using a jointer, flush-trim router bit, or a fine-tooth saw blade.
💡 Pro-Tip (The Match-Jointing Trick): Joint adjacent mating edges together face-to-face. If your jointer fence is slightly off 90 degrees (e.g., 89.5°), the complementary angles (89.5° + 90.5°) will cancel each other out, yielding a perfectly flat 180-degree panel.
Step 3. Dry Fit and Check for Gaps
Lay all boards together on a flat surface without glue. Press them together by hand and check for light shining through the seams. If gaps exist at the ends or middle, re-joint the edges before proceeding.
Step 4. Apply Glue and Position Boards
Apply an even layer of PVA wood glue to both mating edges using a roller or brush. Press the boards together and rub them back and forth slightly (a "rubbed joint") to distribute the adhesive evenly and purge trapped air pockets.
Step 5. Clamp with Balanced Pressure
Place clamps both underneath and on top of the panel, alternating their direction to prevent the panel from bowing under pressure. Tighten clamps until a light, uniform bead of glue squeezes out along the entire seam line. Apply clamping cauls across the panel ends to keep faces flush.
Pro-Tips for Perfect Edge Joints
-
Master Glue Squeeze-Out Timing: Never wipe wet glue with a damp cloth, as this pushes thinned adhesive deep into the wood grain, sealing the pores and causing blotchy wood finishes later. Instead, wait 20 to 30 minutes until the squeeze-out turns rubbery, then scrape it off cleanly with a cabinet scraper or chisel.
-
Avoid Over-Clamping Pressure: Clamping too tightly starves the joint by squeezing out all the glue, leaving a dry, weak bond. Tighten clamps until boards meet firmly and squeeze-out appears, then stop.
-
Account for Seasonal Wood Movement: Never wrap solid edge-joined panels in rigid solid-wood end caps or frames using glue across the grain. Solid wood expands and contracts across its width; restricting this movement causes the panel to split.
Conclusion
Mastering the edge joint is the key to expanding your woodworking capabilities from small projects to large-scale furniture making. By understanding grain orientation, ensuring precisely milled edges, and applying balanced clamp pressure, you can consistently produce strong, seamless wood panels that look like a single continuous piece of timber.