A rabbet joint is one of the most fundamental woodworking joints used in cabinetry, furniture making, and woodworking projects requiring strong and seamless edge connections. This guide will explain what a rabbet joint is, its advantages and disadvantages, when to use it, and how to make one effectively.
What Is a Rabbet Joint?

A rabbet joint is a type of recessed joint where a groove or notch is cut along the edge or end of a wooden board. This recess allows another board to fit snugly into it, creating a strong and stable connection. The rabbet joint is often used in cabinetry, shelving, and furniture construction to enhance strength and provide a flush surface.
Key Characteristics
|
Feature |
Description |
|
Ease of Construction |
Moderately easy, requires precise cutting |
|
Joint Strength |
Moderate strength—stronger than butt joints but not as robust as dovetail or mortise-and-tenon joints |
|
Versatility |
Commonly used in cabinetry, bookshelves, and furniture making |
|
Tools Required |
Can be made using a table saw, router, or dado blade |
Since rabbet joints provide more glue surface than a basic butt joint, they are a popular choice for box-like constructions that require durability and alignment.
Rabbet Joint Advantages and Disadvantages

Advantages
✅ Improved Alignment: The recessed cut ensures better positioning and reduces the chance of misalignment.
✅ Increased Glue Surface: Provides a stronger bond compared to butt joints.
✅ Flush and Clean Finish: The joint creates a smooth and aesthetically pleasing connection, ideal for furniture and cabinetry.
✅ Can Be Reinforced Easily: Screws, nails, or dowels can be added for extra strength.
Disadvantages
❌ Not the Strongest Joint: While better than a butt joint, rabbet joints are still weaker than dovetail or mortise-and-tenon joints.
❌ Requires Precision: Small errors in cutting can lead to loose or misaligned joints.
❌ Vulnerable to Shear Stress: Under heavy loads, the joint can weaken or split.
❌ Limited Use for Curved Designs: Best suited for straight, box-like structures rather than curved woodworking projects.
Rabbet vs. Dado vs. Groove: What’s the Difference?
You rarely see a Rabbet joint in the wild without its close cousins: the Dado and the Groove. Together, these three cuts form the backbone of almost all box-like furniture, from kitchen cabinets to dresser drawers.
While they are often cut with the same tools, such as a router or table saw, distinguishing them is vital because they serve different structural roles in a project:
|
Joint Name |
Location of Cut |
Grain Direction |
Shape Profile |
Common Use |
|
Rabbet |
On the Edge or End |
With or Across |
L-Shape |
Cabinet backs, drawer corners |
|
Dado |
In the Middle |
Across the grain |
U-Shape |
Bookshelves supporting heavy loads |
|
Groove |
In the Middle |
With the grain |
U-Shape |
Drawer bottoms, panel doors |
Once you have confirmed that a rabbet is the right joint for your project, the next step is choosing the specific style that best fits your structural and aesthetic needs.
3 Types of Rabbet Joints You Should Know
While the standard rabbet is the most common, there are variations designed for specific structural or aesthetic needs.
1. The Single Rabbet
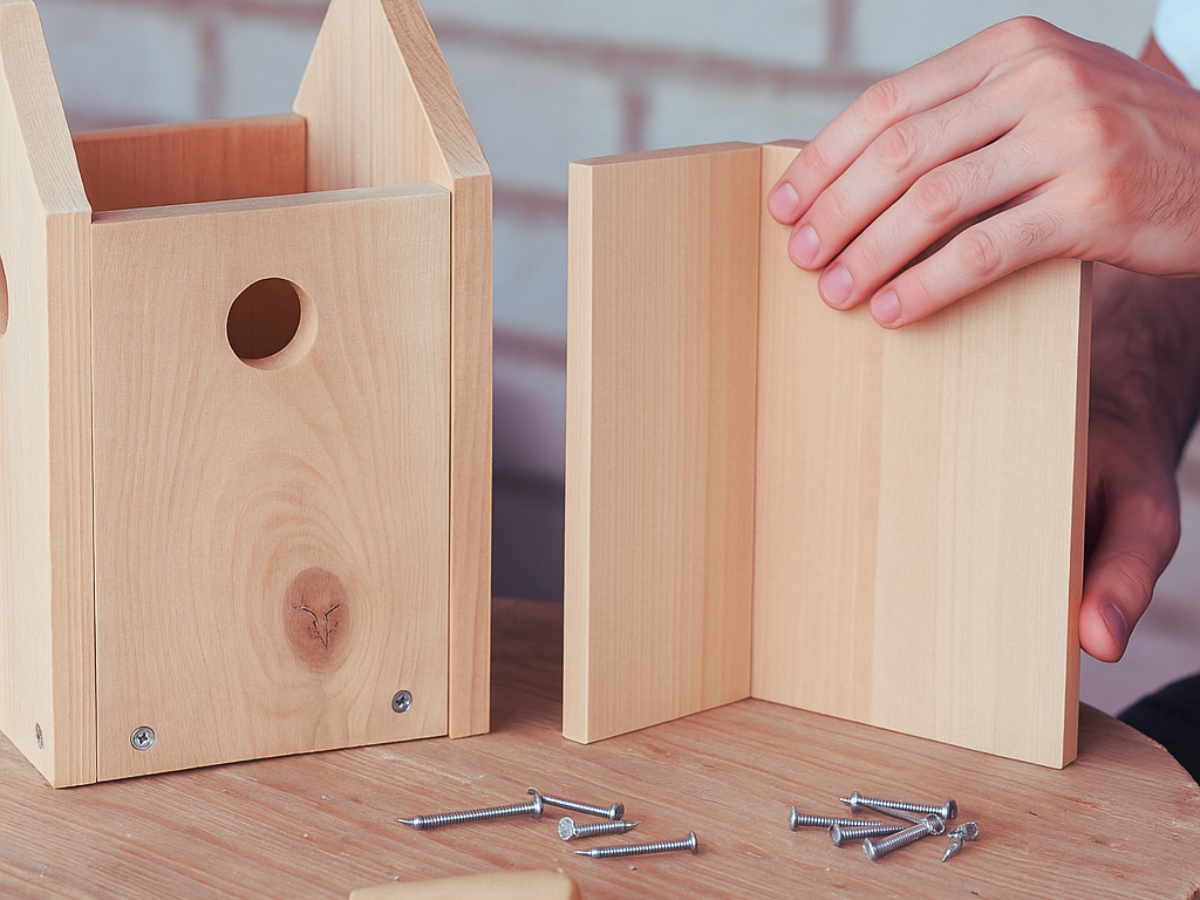
This is the basic form where a notch is cut into the edge of one board to accept the square edge of another. It is simple to cut but relies heavily on the fasteners (nails/screws) for strength against racking forces.
2. The Double Rabbet
In this variation, a rabbet is cut into both mating pieces. This approach significantly increases the glue surface area, resulting in a much stronger bond. Beyond added strength, it offers a distinct "self-squaring" advantage: because the two notches interlock, the boards naturally align at a perfect 90-degree angle during assembly, making the clamping process significantly easier.
3. The Blind (Stopped) Rabbet
Instead of cutting the rabbet all the way from one end of the board to the other, the cut stops just short of the edge. This variation is chosen primarily for its aesthetic benefits, as it effectively hides the joint connection from the front view. The result is the clean appearance of a butt joint combined with the internal structural strength of a rabbet, making it ideal for fine furniture making where visible end grain is undesirable.
Regardless of which variation you choose, the structural integrity of your joint depends entirely on the dimensions of your cut. Removing too much wood can lead to failure.
The Golden Rules of Rabbet Design
"How deep should I cut?" is the most common question beginners ask. Following these structural rules ensures your joint is strong and your wood doesn't split.
The "Two-Thirds" Rule for Depth
Never cut a rabbet deeper than 2/3 of the board's thickness.
-
Ideal: Cutting 1/2 to 2/3 of the way creates a strong shoulder for the mating piece to rest against.
-
Danger Zone: If you cut deeper than 2/3, the remaining "lip" of wood becomes too thin and is liable to snap off under pressure.
The Width Rule
The width of the rabbet should exactly match the thickness of the board being joined to it. This ensures the outside faces of the box or cabinet remain perfectly flush.
When to Use Rabbet Joints?
Rabbet joints are ideal for woodworking projects that require a seamless and secure fit. Some of the most common applications include:
Cabinetry and Drawer Construction

Commonly used in cabinet frames and drawer assemblies, rabbet joints enhance alignment and strength while reducing visible seams. This results in a seamless, polished finish ideal for furniture and storage solutions.
Bookshelves and Casework

Perfect for securing back panels in bookshelves and cabinets, rabbet joints prevent shifting and improve structural stability. Whether using solid wood, plywood, or MDF, they provide a clean and professional finish.
Picture Frames and Window Frames

Rabbet joints create recessed spaces for glass panels in picture frames and window frames, ensuring a snug, secure fit. They also minimize visible fasteners, enhancing durability and aesthetics.
Plywood and Panel Assembly

Used in plywood furniture construction, rabbet joints offer a strong bond with improved glue adhesion. They provide a cleaner, more stable edge connection compared to butt joints and allow for reinforcement with screws or nails.
Rabbet joints are perfect for projects where a smooth finish and moderate strength are required.
How to Make Rabbet Joints?
Creating a rabbet joint is a relatively simple process, but precision is key to achieving a snug fit and a strong connection. Whether you're building cabinets, bookshelves, or picture frames, accurate measuring, clean cutting, and proper reinforcement will ensure a durable and professional-looking joint.
Materials & Tools
-
Wood Boards – The primary material for the joint.
-
Table Saw / Router / Dado Blade – Used to cut the rabbet groove.
-
Clamps – To hold the pieces steady during assembly.
-
Wood Glue – Provides a strong bonding surface.
-
Screws or Nails (Optional) – For additional reinforcement.
Step-by-Step Guide to Making a Rabbet Joint
Step 1. Measure and Mark

Begin by measuring and marking the depth and width of the rabbet cut on the edge of the board. Use a pencil and a square to ensure straight, accurate lines. Precise markings are crucial to avoid misalignment during assembly.
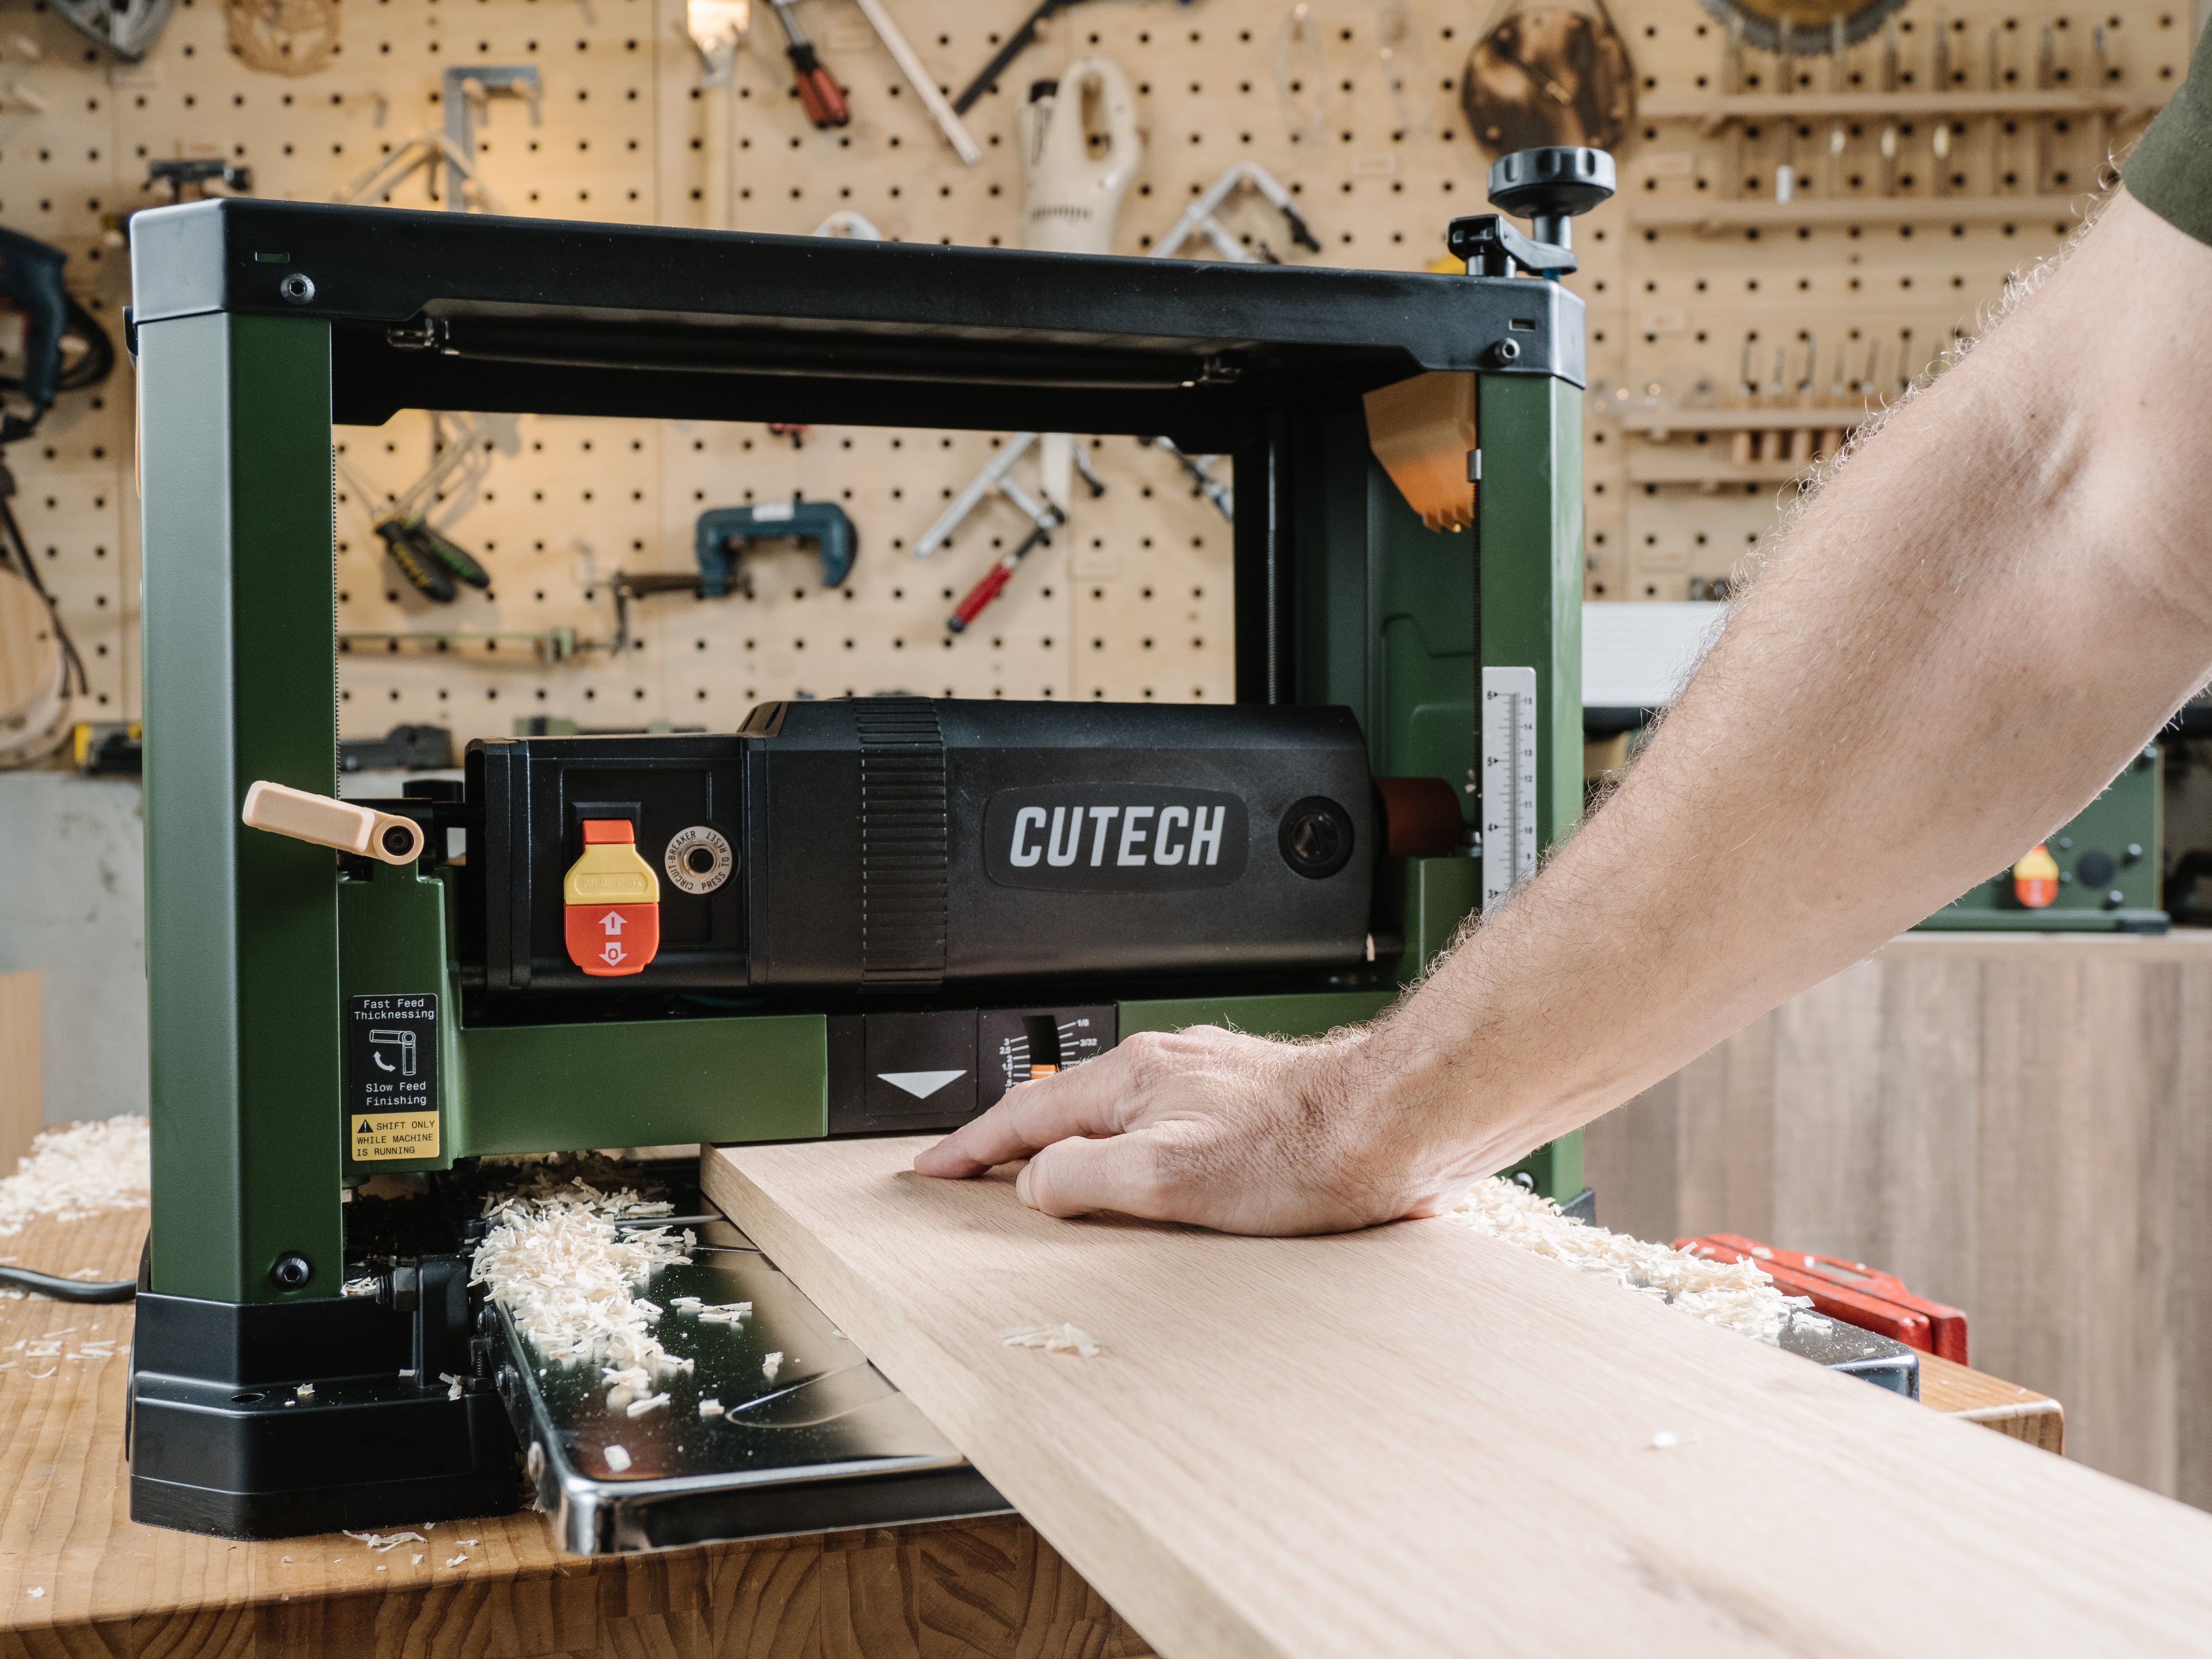
Step 2. Cut the Rabbet
Use a table saw, router, or dado blade to cut the rabbet. If using a table saw, make multiple passes with a standard blade or use a dado blade for a cleaner cut. A router with a rabbeting bit can also create a smooth and uniform groove along the edge.
Step 3. Test the Fit

Place the second board into the rabbet cut to check the fit. The joint should be snug and flush. If necessary, adjust the cut to eliminate any gaps or misalignment.
Step 4. Apply Wood Glue
Spread a thin, even layer of wood glue inside the rabbet groove. Carefully insert the second board and press it firmly into place. Use clamps to hold the joint securely while the glue sets.
Step 5. Reinforce the Joint (Optional)
For added strength, use screws or nails to reinforce the joint. Ensure fasteners are evenly spaced and positioned to prevent wood splitting.
Step 6. Let the Joint Cure and Finish
Allow the glue to dry completely before removing the clamps. Once dry, sand the joint area to remove rough edges and excess glue for a smooth, polished finish.
Conclusion
Rabbet joints are a fundamental yet highly effective woodworking technique, offering both strength and a clean, seamless appearance. Their ability to improve alignment and increase gluing surface makes them a go-to choice for cabinetry, bookshelves, and panel construction. While they may not be the strongest joint on their own, proper reinforcement with glue, nails, or screws can significantly enhance their durability. Whether you're a beginner or an experienced woodworker, mastering the rabbet joint will add versatility to your woodworking skills.