
Achieving perfectly flush surfaces is one of woodworking's toughest challenges. Enter the biscuit joint—a method prized for its speed and alignment precision. This guide covers everything from selecting the right biscuit joint sizes to understanding biscuit joint wood bonding. We also compare biscuit joints vs dowels and the biscuit joiner vs domino to help you determine the best tool for your next project.
What Is a Biscuit Joint?

If you have ever struggled to glue two boards together while keeping them perfectly flush, the biscuit joint is likely the solution you’ve been looking for. A biscuit joint is a simple yet effective way to connect two boards and keep them perfectly aligned. It uses a small, football-shaped compressed wood piece called a biscuit, which fits into matching slots cut into each board. When glue is applied, the biscuit swells and locks the joint together, creating a clean, hardware-free connection.
Compared with more complex joinery, biscuit joints are easy to make because the biscuit joiner handles most of the precision work. While they are not meant for heavy structural loads, they offer dependable strength for everyday furniture, panel glue-ups, and light assemblies. Their biggest advantage is accuracy, helping you keep boards flush and preventing them from slipping during glue-ups.
Key Characteristics
| Feature | Description |
|---|---|
| Ease of Construction | High. Fast setup with minimal technique needed. |
| Joint Strength | Moderate. Excellent for alignment and shear loads, but not structural. |
| Versatility | High. Perfect for panels, plywood boxes, and mitered corners. |
💡 Not Sure Which Joint to Use?
The Biscuit Joint is primarily an alignment aid for gluing panels. See how it differs from traditional mechanical joints:
- Butt Joint Guide: The most basic connection. Biscuits are often used specifically to reinforce and align this joint.
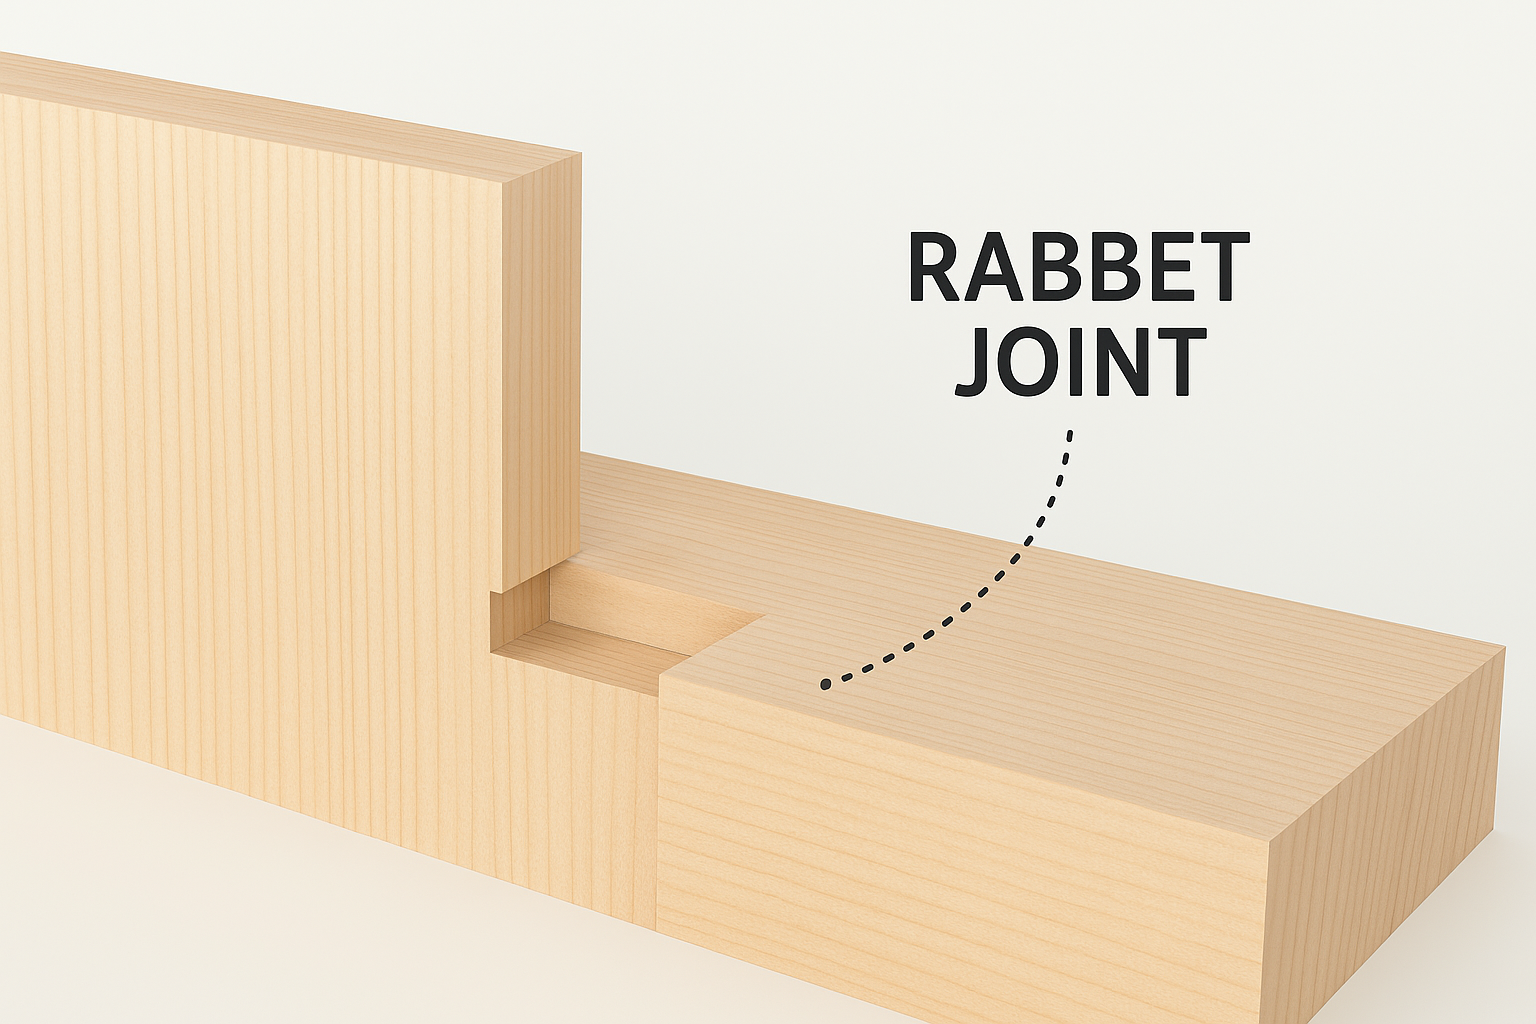
- Rabbet Joint Guide: A self-aligning joint that offers better mechanical strength for cabinet corners without needing a biscuit joiner.
Biscuit Joint Advantages and Disadvantages
Advantages
✅ Accurate Alignment: Biscuits help keep boards flush, preventing slipping during glue-ups.
✅ Easy to Make: A biscuit joiner handles most of the precision, making it beginner friendly.
✅ Clean, Hidden Joint: Creates a smooth surface without visible screws or nails.
✅ Great for Panels: Excellent for tabletops, cabinet sides, and edge-to-edge glue-ups.
Disadvantages
❌ Not for Heavy Loads: Biscuit joints are not designed for structural or high-stress connections.
❌ Tool Required: Requires a biscuit joiner to cut consistent, accurate slots.
❌ Limited Reinforcement: Biscuits are mainly for alignment and offer less strength than dowels or mortise and tenon.
❌ Depends on Glue: Proper bonding and swelling rely entirely on glue quality and even application.
Biscuit Joint Sizes and Standards
Biscuit joints follow a set of fixed size standards, and each size is meant for a specific board thickness and type of project. If the biscuit is too small, the joint won't have enough glue surface area to hold securely; if it's too large, you risk cutting through the face of your material.
Common Biscuit Sizes
| Size | Dimensions (Approx.) | Best For | Recommended Material Thickness |
|---|---|---|---|
| #FF | 13mm x 4mm | Face Frames & Picture Frames | Narrow stock (under 10mm wide) |
| #0 | 47mm x 15mm | Small frames or thin panels | 8mm – 12mm (approx. ½ inch) |
| #10 | 53mm x 19mm | General framing & cabinetry | 13mm – 18mm (approx. ½ - ¾ inch) |
| #20 | 56mm x 23mm | Heavy tabletops & thick plywood | 19mm and up (¾ inch +) |
How to Choose the Right Size
The general rule is simple: Always use the largest biscuit that fits.
- Thin boards use #FF or #0
- Standard 3/4 inch boards use #10 or #20
- Wide or heavy panels perform best with #20
When to Use Biscuit Joints?
Biscuit joints act as alignment aids rather than structural supports. They excel in these specific scenarios:
Panel Gluing and Tabletops
When gluing boards side-by-side, wet glue makes them slippery. Biscuits keep the surfaces perfectly flat, saving you hours of sanding later.
90-Degree Joints
Great for assembling plywood boxes for kitchen cabinets or bookshelves. They create a clean, screw-free look on the visible sides.
Reinforcing Miter Joints
A 45-degree miter joint is naturally weak (end-grain to end-grain). Inserting a biscuit adds essential cross-grain strength and prevents the corner from sliding apart during clamping.
Attaching Face Frames
Allows you to attach solid wood frames to cabinet boxes without using nails that need to be filled with putty.
Important Limitation: Biscuit joints are versatile but are considered lightweight structural joints. For high-stress areas such as chair rails that support the weight of a person, traditional mortise and tenon joints or heavy-duty domino loose tenons are safer choices.
Common Types of Biscuit Joints
One of the best features of a biscuit joint is its adaptability. You can use the same simple technique to solve a variety of woodworking puzzles. With a standard biscuit joiner, you can create several different configurations depending on how you arrange the wood.
| Joint Type | Configuration | Ideal Project | Why Use It? |
|---|---|---|---|
| Edge-to-Edge | Boards placed side-by-side | Dining tables, desktops, and panels | It keeps the top surface perfectly flush while the glue dries. |
| Miter Joint | Ends cut at a 45-degree angle | Picture frames and waterfall tables | It prevents the angled pieces from sliding apart under clamp pressure. |
| T-Joint | End of one board meets the face of another | Bookshelves and cabinet dividers | It provides a clean and invisible connection without external screws. |
| Corner Butt Joint | End of one board meets the end of another | Drawer boxes and simple carcasses | It increases the glue surface area on an otherwise weak joint. |
Pro Tip: Start with Edge-to-Edge joints. They are the most forgiving and the easiest way to learn the tool.
Tips for Using Biscuit Joints
Mark Your Reference Faces
Always mark a "V" on the face of the boards and register your tool against this face. This ensures the slots align perfectly even if the board thickness varies slightly.
Dry Fit Everything First
Never glue until you have assembled the project dry. This confirms your slots are deep enough and you have enough clamps ready.
Don't Drown the Biscuit
Apply a thin layer of glue in the slot and on the biscuit. Too much glue can prevent the joint from closing tightly.
Double Up for Thickness
If you are working with material thicker than 25mm, a single row of biscuits might not provide enough alignment. In these cases, you should cut two slots stacked on top of each other. This "double biscuit" technique doubles the surface area and prevents the thick boards from twisting during the glue-up.
Spacing Matters
You don't need a biscuit every inch. Spacing them 6 to 10 inches apart provides plenty of alignment without wasting time.
Biscuit Joints vs Dowels vs Domino
Which joinery method wins? It usually comes down to Alignment vs. Strength.
| Method | Tool Cost | Strength | Alignment Aid | Best Application |
|---|---|---|---|---|
| Biscuit Joint | Moderate | Low | Excellent | Tabletops and panel glue-ups |
| Dowels | Low | High | Good (with a jig) | Chairs, frames, and structural joints |
| Domino | Very High | Very High | Excellent | Heavy furniture and structural framing |
-
Biscuit Joints vs Dowels: This is a battle of Alignment vs. Strength. Dowels act like buried pegs and offer superior structural hold, but they are difficult to align perfectly without jigs. Biscuits are far more forgiving; their wider slots allow for side-to-side adjustments, making them the better choice for keeping tabletops and panels perfectly flush.
-
Biscuit Joiner vs Domino: This represents Budget vs. Premium. The Domino system creates deep "loose tenons" that can support heavy structural loads, like beds or doors, but comes with a high price tag. While the biscuit joiner lacks that extreme strength, it is a cost-effective solution that handles most cabinetry and panel projects with ease.
How to Make a Biscuit Joint?
Creating a strong and flush joint is surprisingly simple. You do not need a workshop full of heavy machinery. With just a few basic tools, you can produce professional results in minutes.
Materials & Tools
- Biscuit Joiner (Plate Joiner): The essential power tool for cutting the slots.
- Biscuits: Choose the correct size (#0, #10, or #20) for your project.
- Wood Glue: Standard PVA wood glue works best as it helps the biscuits swell.
- Clamps: Crucial for holding the joint tight while the glue dries.
- Pencil & Square: For marking accurate lines across the boards.
Step-by-Step Guide to Making a Biscuit Joint
Step 1. Prepare and Mark the Boards
Start by laying your boards side-by-side on a flat surface exactly how you want them to look. Once you are happy with the arrangement, use a pencil to draw a line across the joint where the two boards meet. Make a mark every 6 to 10 inches. These pencil lines will serve as your target for the cutting tool.
Step 2. Set Up the Biscuit Joiner
Adjust your biscuit joiner to match the size of the biscuit you plan to use (usually #20 for furniture). Next, set the depth of the cut. Finally, adjust the fence height so the slot is cut roughly in the center of the board's thickness.
Step 3. Cut the Slots
Align the center mark on the face of your biscuit joiner with the pencil line you drew on the wood. Hold the machine firmly against the board and push the plunge mechanism forward smoothly. Repeat this for every pencil mark on both boards.
Step 4. Apply Glue and Insert Biscuits
Apply a thin layer of water-based wood glue into the slots and onto the biscuits themselves. Insert the biscuits into the slots on one side. Push the second board onto the exposed half of the biscuits. The joint should close relatively easily.
Step 5. Clamp and Dry
Place clamps across the width of the boards. Tighten them just enough to close the gap. You should see a small bead of glue squeeze out along the seam. Let the project sit undisturbed for at least 30 minutes to allow the biscuits to swell and lock the joint. Once the squeeze-out turns rubbery, scrape it off with a chisel or cabinet scraper rather than wiping it with a wet cloth, which can push glue into the grain and cause blotchy finishes.
Conclusion
The biscuit joint remains one of the most reliable and efficient methods in modern woodworking. While it may not replace heavy-duty structural joinery like the domino or dowels, its ability to provide perfect alignment and fast assembly makes it indispensable for cabinetry and tabletops. It is a simple yet powerful technique that earns its place in every woodworker’s shop.